“Laura felt a warmth inside her. It was very small, but it was strong. It was steady, like a tiny light in the dark, and it burned very low but no winds could make it flicker because it would not give up.”
—The Long Winter
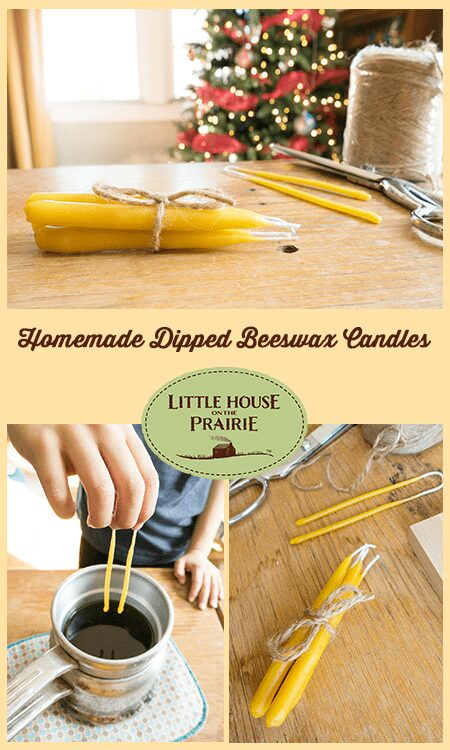
Nothing says “pioneer living” quite like making your own beeswax candles. If you’ve never made them before, dipped beeswax candles are surprisingly easy to make, but do require a bit of planning. You’re going to need a metal container, in which to melt the beeswax, that is as long as you want your candles to be. I made small ones for the purpose of this tutorial, and my children’s attention span, but you can make the 10″ standard taper length if you desire.
If you don’t have a double boiler large enough for this project, it is no problem. Just place your melting tin in a larger pot with about 1″ of water set to simmer.
Since you will be working with hot wax, I highly suggest making these candles only with older children. You could also involve younger children by having them measure out the beeswax pellets or having them pass you the dry wicks to be dipped. I promise you, they’ll be so amazed, watching the entire process unfold before their eyes!
(Jump to printable instructions)
Materials to Make Hand-Dipped Candles with Beeswax
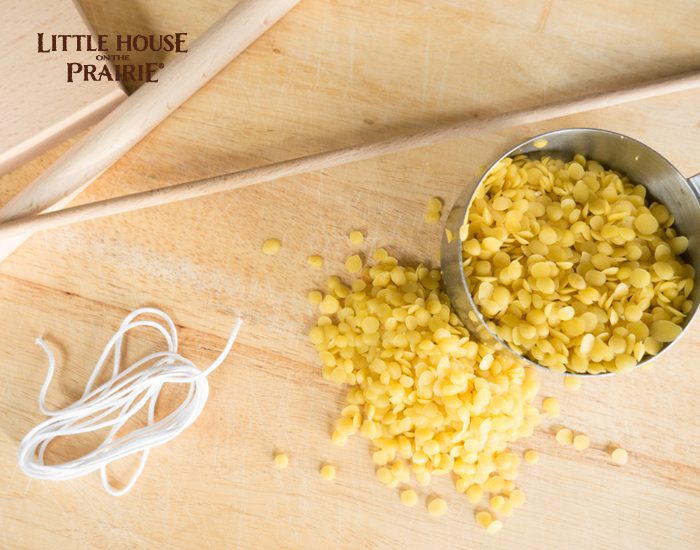
- 1 lb beeswax pellets
- double boiler
- candle wicks
- nuts or bolts
- large pail with water (optional)
- drying rack (optional)
Making Old-Fashioned Hand-Dipped Beeswax Candles
Step 1. Use a double boiler to melt beeswax pellets. Once all the wax has melted thoroughly, you can remove it from the heat source for a good amount of time while you dip the candles. Just reheat when the surface begins to harden.
Step 2. Depending on the length of candles you want to make, double up on the wick and begin dipping in the wax. You can either use a nut or bolt to weigh down the wick or use your hands to straighten the wick manually after the first few dips.
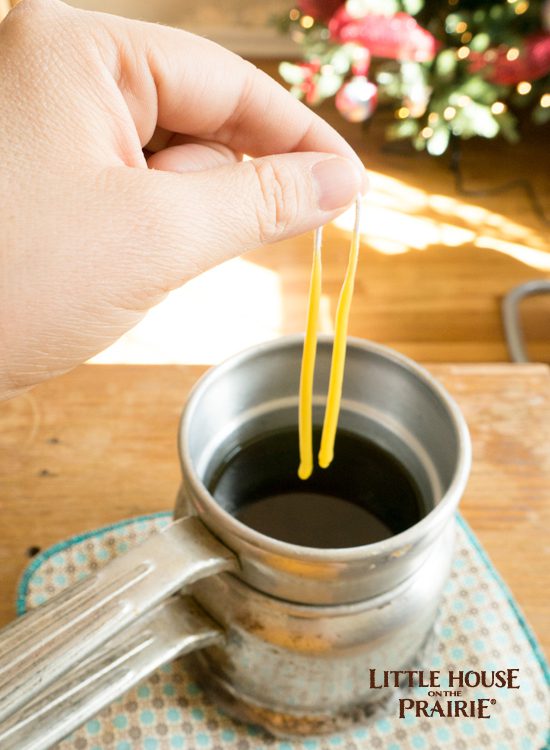
Step 3. Remove from wax and allow to harden before dipping again. You’re going to want to make sure not to leave the candle in the hot wax too long or it’ll begin to melt. Also, take caution when dipping two candles at once so that they don’t touch each other and melt together.
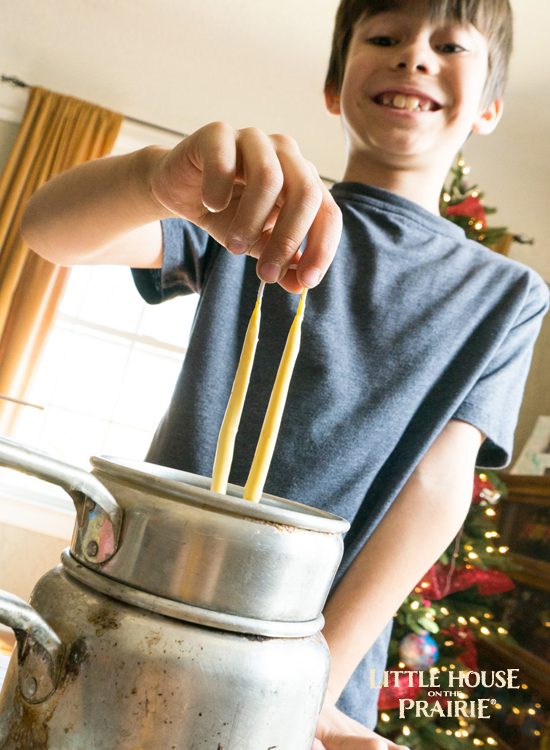
Step 4. Since my candles were so little and we were only making a few, we just waited the few seconds in between dips, but you can dip them in a large pail full of water if you want to speed up the process. Also, if you plan to make full-length candles that take longer to harden, you may want to create some sort of drying rack. This will help speed up the process since you can leave some hardening while you dip new ones.
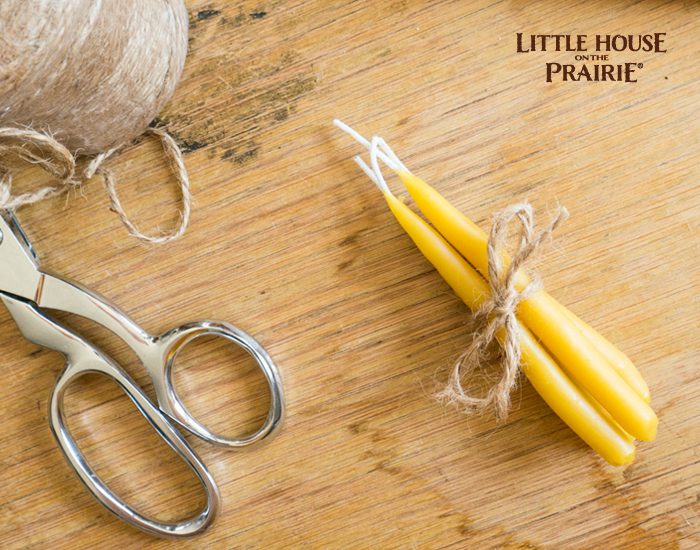
Step 5. Continue dipping until you are happy with both the length and width of your tapers.
Once they harden, you can tie a group of dipped beeswax candles together for the perfect handmade gift.
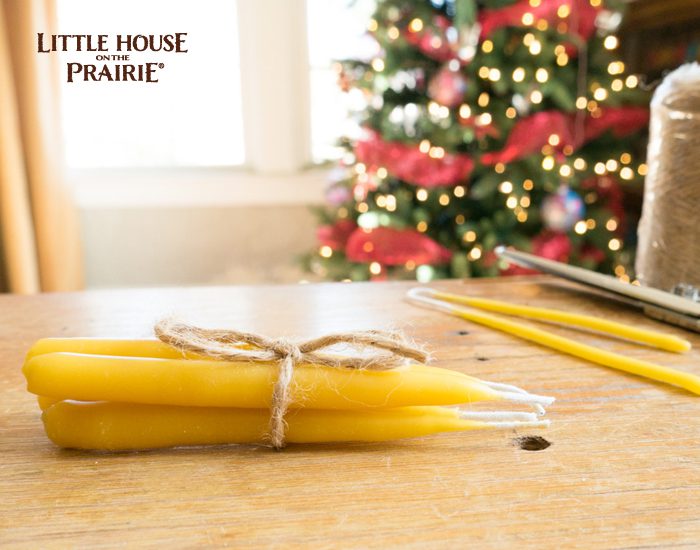
Hope you enjoy making these! Be sure to subscribe to our newsletter for future DIY and gift ideas.
Materials to Make Hand-Dipped Candles with Beeswax
- 1 lb beeswax pellets
- double boiler
- candle wicks
- nuts or bolts
- large pail with water (optional)
- drying rack (optional)
Making Old-Fashioned Hand-Dipped Beeswax Candles
Step 1. Use a double boiler to melt beeswax pellets. Once all the wax has melted thoroughly, you can remove it from the heat source for a good amount of time while you dip the candles. Just reheat when the surface begins to harden.
Step 2. Depending on the length of candles you want to make, double up on the wick and begin dipping in the wax. You can either use a nut or bolt to weigh down the wick or use your hands to straighten the wick manually after the first few dips.
Step 3. Remove from wax and allow to harden before dipping again. You’re going to want to make sure not to leave the candle in the hot wax too long or it’ll begin to melt. Also, take caution when dipping two candles at once so that they don’t touch each other and melt together.
Step 4. Since my candles were so little and we were only making a few, we just waited the few seconds in between dips, but you can dip them in a large pail full of water if you want to speed up the process. Also, if you plan to make full-length candles that take longer to harden, you may want to create some sort of drying rack. This will help speed up the process since you can leave some hardening while you dip new ones.
Step 5. Continue dipping until you are happy with both the length and width of your tapers.
Once they harden, you can tie a group of dipped beeswax candles together for the perfect handmade gift.
Vanessa Brady is the mother of two little boys and is an unabashed craft junkie. She is passionate about sewing, crafting, her children, and business. Find her original crafts at Tried and True blog.


Hi!
Thanks so much for the helpful info. I’m wondering if you have any advice for what to use as a drying rack? Can’t seem to find any online!
Thanks x
An actual laundry drying rack would work. So would your shower curtain bar (pull back the curtain first, obviously.) Or get creative – a chandelier, towel bar, or curtain rod. Anywhere the candles won’t touch each other or anything else!
When I was a kid, we made hand dipped candles in art class (I think the teacher used paraffin to keep costs down). He put several coffee cans on a table and had the kids walk around it. We would dip in one container and by the time we got to the next one, the candles were ready to dip again. It kept us all moving, so no one was bored or fidgety– which made it a much safer environment.
My daughter is having a Little House on the Prairie party for her birthday and would like to make dipped candles as one of the activities and I could use some advice as a candle-dipping newbie! We’re expecting about 15-20 girls and I have no idea how much wax to get. How many candles does 1lb of wax typically make? What is a good size for the girls to make? We want them to be substantial enough for the girls to feel like they have a real candle, but they don’t need to be full-size taper candles. Any advice or guidance you can offer would be GREATLY appreciated!!!
I am also interested in making these candles for my daughter’s 12th birthday. It’s actually her Bat Mitzvah and we want to use the candles as Hanukah Candles. Did you do this activity with your daughter and do you have any tips/suggestions for me?
Hi Marla. This would be a perfect activity to do with your daughter. Just make sure you have all the materials on hand and ready. Take your time, follow the instructions and most of all, enjoy yourself!
Hi! I’m planning on making these with 22 3rd graders and was also wondering how much wax to buy. Do you know many of these cute little small candles a pound makes? Thank you! 🙂