When all the trading was done, the storekeeper gave Mary and Laura each a piece of candy. They were so astonished and so pleased that they just stood looking at their candies.
—Little House in the Big Woods
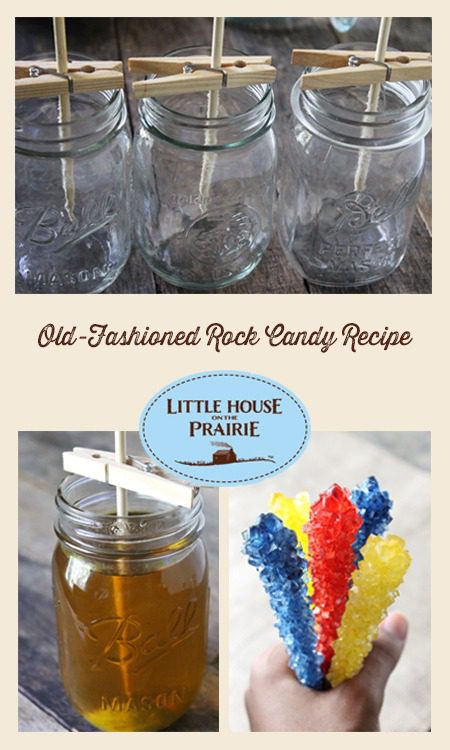
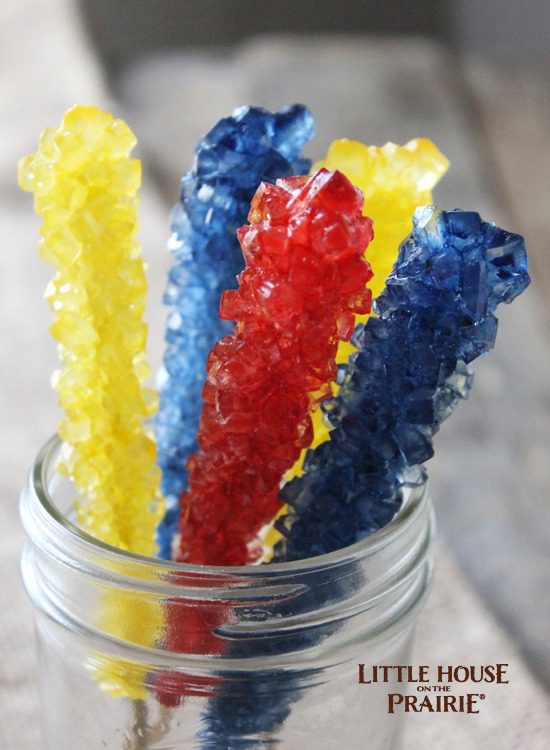
Rock candy or sugar candy has been around for centuries, so it’s almost certain that Laura and Mary would have seen something similar in the general stores they visited. While crystalized rock sugar can sometimes come in lumps, used to sweeten tea or coffee, it can also be prepared as a candy around wooden sticks. Perfect for children’s hands to hold onto for easy eating!
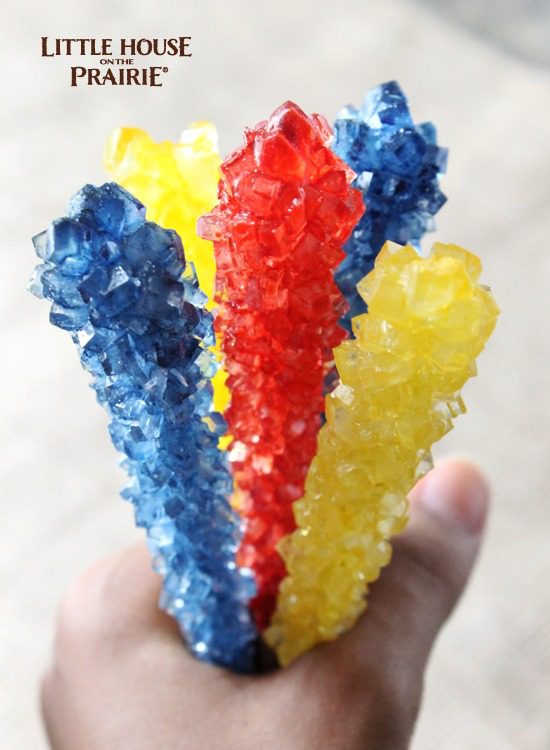
Not only is rock candy a delicious and colorful treat, but it’s also super fun to make and watch grow! Using only 2 to 4 ingredients (depending on your preference), this recipe is a keeper. It’s perfect for an old-fashioned pioneer party or picnic.
The science aspect of this treat is almost even more enjoyable and definitely more memorable than its sweet flavor and crunchy texture. As the days go by, you or your kids can keep track of how much the rock candy has grown and even see whose rock candy grows the fastest! I like to think of it as an edible experiment!
One problem many people run into (and that I’ve run into), is the rock candy not forming crystals on the skewer or even anywhere else in the jar. If this happens, you probably didn’t boil the sugar-water mixture long enough. Don’t worry, just try again and make sure you use some of our tips.
Think of it as making hard candy—if you don’t let the candy mixture reach a certain temperature, the candy won’t become hard. If you don’t boil the rock candy mixture long enough, the crystals will take A LOT longer to form (up to three weeks or more!).
If you’ve made this recipe and it’s been a week and NO crystals have formed, try pouring the mixture back into a saucepan and boiling for a few minutes more. Then return the mixture back to the jars and wait. Crystals should start forming in a couple of days.
All you need to make this rock candy is sugar, water, natural food coloring, and the flavoring of your choice. Some of my favorite flavoring options are wintergreen, banana, grape, cherry, and maple, but you could use anything you like.

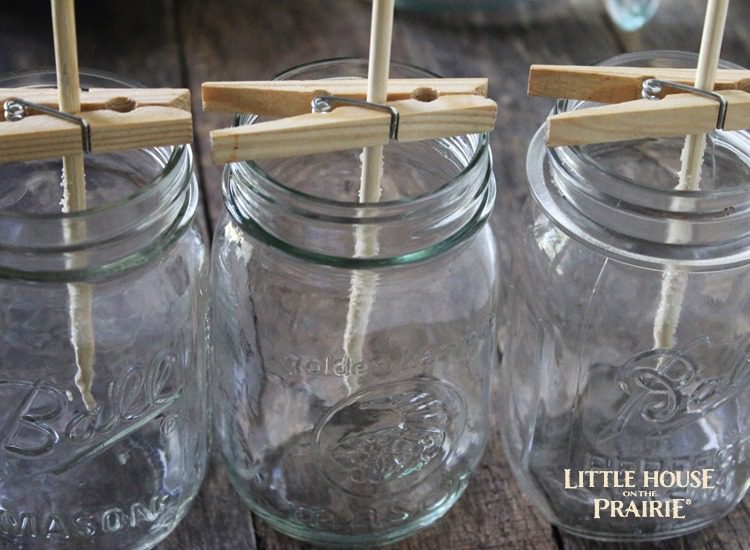
The equipment you will need is wooden skewers, small mason jars, a small saucepan, and clothespins.
Makes 3 rock candies
Ingredients:
- 3 cups water
- 5 ¼ cups unbleached pure cane sugar, plus more for rolling
- 3 small or medium canning jars
- 3 wooden skewers
- 3 wooden clothespins
- Natural food coloring
Instructions:
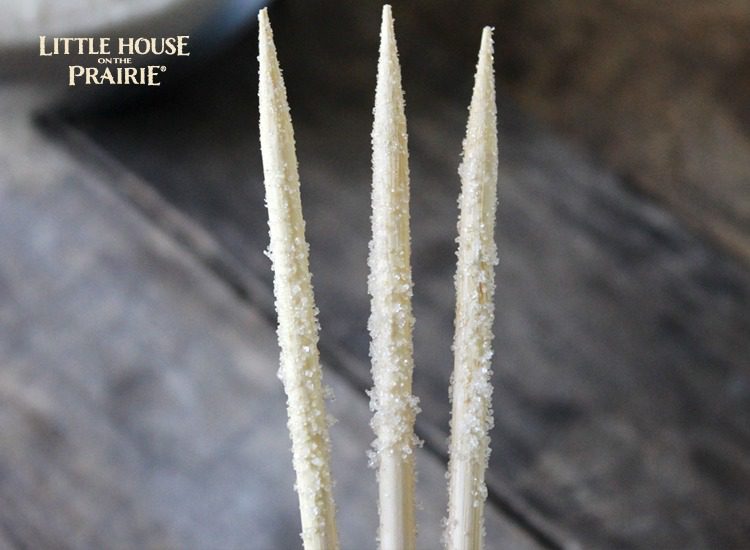
1. Run water over the bottom half of the skewers and roll the skewers in sugar. This gives the sugar crystals something to hang onto while they form. Let this sit until dry, about a day. (If you want to start making the rock candy the same day, just let it dry for 10 minutes).
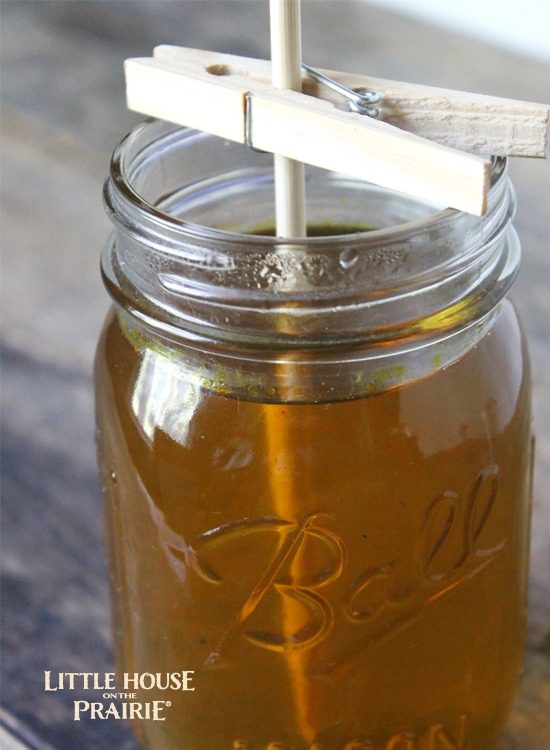
2. Clip the skewers in the smaller holes of the clothespins. Balance the skewers (with the clothespins attached) on the canning jars and set aside.
3. In a medium saucepan over medium-high heat, combine the water and sugar. If you want all of your rock candy to be the same color and/or the same flavor, add a few drops of each until it reaches the desired color and flavor. Otherwise you’ll add the colors and flavors later in step 5.
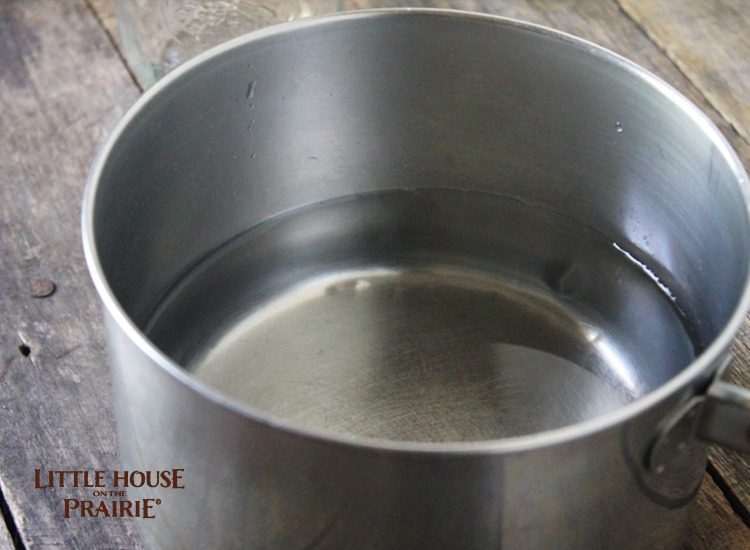
4. Bring the mixture to a boil, then reduce the heat to medium-low and simmer for 10 to 15 minutes.
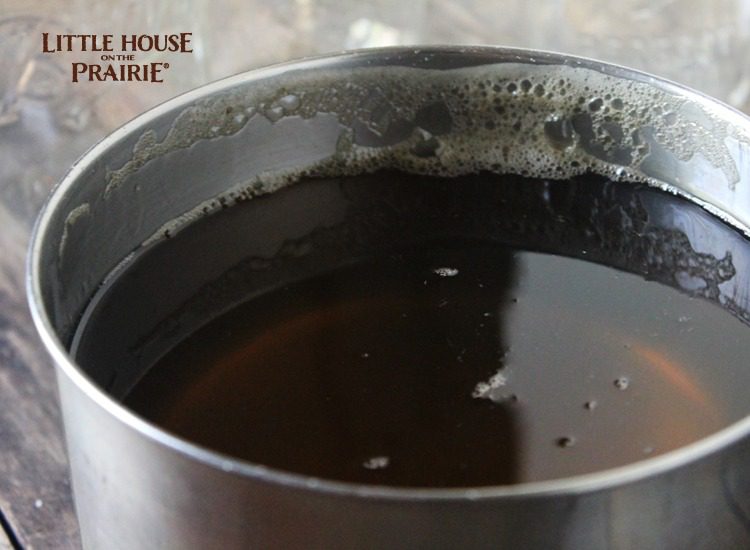
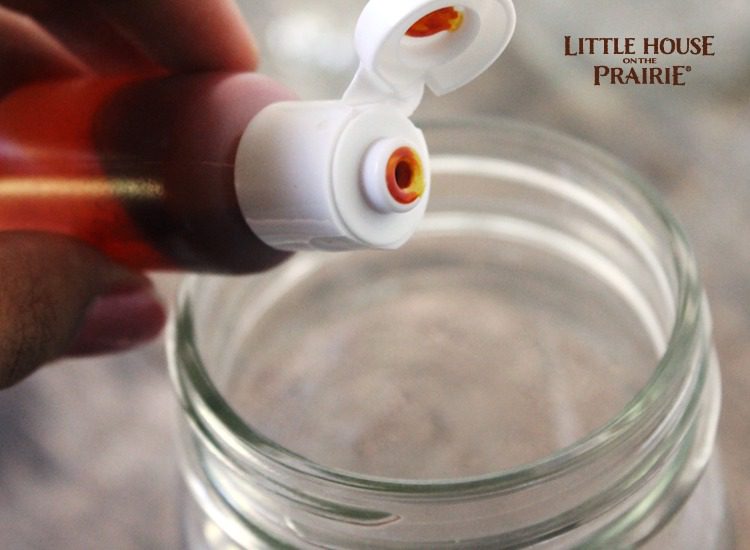
5. If you are doing separate colors/flavors, add a couple drops to each jar. If you’ve already done the color and flavor in Step 3, you will just separate the mixture into the three jars. Pour the sugar mixture into the canning jars and place the jars into separate gallon freezer bags to keep dust out. (Note – you can just slip the bag over the jar and clothespin and skewer. The sugar syrup stays in the jar.)
6. Let the jars sit on a countertop at room temperature for 1-2 weeks until the desired amount of crystals has been achieved. Then just pull them out and enjoy!
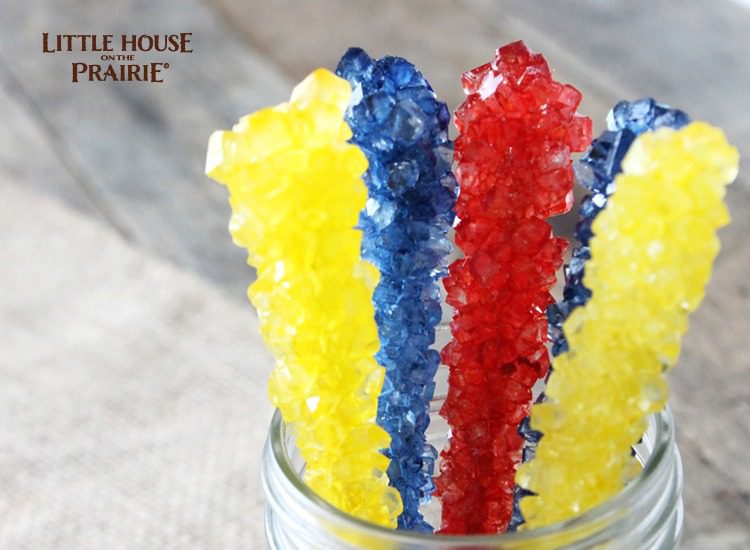
Flavor/Color Combination Ideas:
- Yellow/Banana
- None/Maple
- Blue/Wintergreen
- Red/Cherry
- Purple/Grape
I use and recommend natural food dyes and pure extracts, if feasible.
The only question now is, what flavors and colors will you try to make first? Let us know on our Facebook page and subscribe to the newsletter for future family activity ideas!
Printable Recipe
The equipment you will need is wooden skewers, small mason jars, a small saucepan, and clothespins.
Makes 3 rock candies
Ingredients:
- 3 cups water
- 5 ¼ cups unbleached pure cane sugar, plus more for rolling
- 3 small or medium canning jars
- 3 wooden skewers
- 3 wooden clothespins
- Natural food coloring
Instructions:
- Run water over the bottom half of the skewers and roll the skewers in sugar. This gives the sugar crystals something to hang onto while they form. Let this sit until dry, about a day. (If you want to start making the rock candy the same day, just let it dry for 10 minutes).
- Clip the skewers in the smaller holes of the clothespins. Balance the skewers (with the clothespins attached) on the canning jars and set aside.
- In a medium saucepan over medium-high heat, combine the water and sugar. If you want all of your rock candy to be the same color and/or the same flavor, add a few drops of each until it reaches the desired color and flavor. Otherwise you’ll add the colors and flavors later in step 5.
- Bring the mixture to a boil, then reduce the heat to medium-low and simmer for 10 to 15 minutes.
- If you are doing separate colors/flavors, add a couple drops to each jar. If you’ve already done the color and flavor in Step 3, you will just separate the mixture into the three jars. Pour the sugar mixture into the canning jars and place the jars into separate gallon freezer bags to keep dust out. (Note – you can just slip the bag over the jar and clothespin and skewer. The sugar syrup stays in the jar.)
- Let the jars sit on a countertop at room temperature for 1-2 weeks until the desired amount of crystals has been achieved. Then just pull them out and enjoy!
Flavor/Color Combination Ideas:
- Yellow/Banana
- None/Maple
- Blue/Wintergreen
- Red/Cherry
- Purple/Grape
Writer of the food blog, Natural Chow, Margaret Anne is a green-thumbed Christian striving to live a healthy lifestyle and teach others about eating and living naturally. She understands the importance of inexpensive meals, family time, health, having fun, and making foods that are good for your body. See her contributions to Little House on the Prairie below.

’m Margaret Ann, without the E. We are binge watching the Little House episodes and enjoying browsing new sites online about the show and that life… we had a farm once and now have a home we are renovating. We have a garden, and I still love to quilt and can… and I’ll have chickens again in a year or two. Thanks for creating such a sweet and inspiring place online. Prayers for and blessings to you!
do I need to let it cool before I put it in the container
Would it be possible to use the leftover syrup from making candied fruits for the same process and a completely natural flavouring?
Can I use regular sugar? I make hard candy all the time with regular sugar. Please help.
Yes, you can use regular sugar.
Can you put 2 skewers in a jar at a time?
I love the rocky candy and we get them every time we have birthday party’s.
Would it make sense to cut the rock candy in a coffee grinder to make an etable glitter???
Um…. What if your son puts in way to much sugar??? Will it still turn out?
I’m wondeing if you can ‘recycle’ any of the left over liquid in the jars to make a subsequent batch ?
do I need to let the rock candy mixture cool down because as soon as I poured in the hot mixture, the sugar started falling off of skewer.
If that happened, you probably need to let it cool down.
Hi!
I would like to know what temperature the mixture have to reach
I too am interested in learning if you need to cool the mixture prior to pouring into the jars with the skewers so as to not melt the dried sugar on the skewer. Is there also a temperature the boiled mixture needs to reach?
OMG, rock candy was one of my favorites growing up! I remember seeing how it was made forever ago.. but this just brought back many memories! And it looks do-able 🙂 Would love to try these sometime! Thanks for posting!
Where do I get the flavoring fie the rock candy? Thank u so much.
Lynne
I used to watch this show when I was a kid,,,,it is nice to see that it’s still a big part of today and tomorrow thanks so much for the recipe for the candy and pie if you have more recipes from that show or from that time period I would love to have some,,,,,,thanks again Mechelle
Since I’m in fourth grade I read the books
I’m in fifth and I already read them and they are AMAZING!!!
What is the recipe for the candy please.