We are so pleased to have Linda Halpin back with us to share some quilting tips for beginners. Many of us are inspired by Laura Ingalls Wilder to learn some of these lost arts but might be wondering where to start. Here Linda shares tips for beginning quilters to learn old-fashioned crafts for the modern era.
How to Choose Patterns to Start
If you are new to quilting, you may want to start with a pattern that has a simple design. Give yourself a chance to become familiar with the tools of the trade and the mechanics of how pieces of fabric go together. The fabric is a fluid medium, that is, it has a stretch to it, so it must be handled properly in order for pieces to go together well.
When Laura and Mary Ingalls began quilting as children, they started with a Nine Patch design.
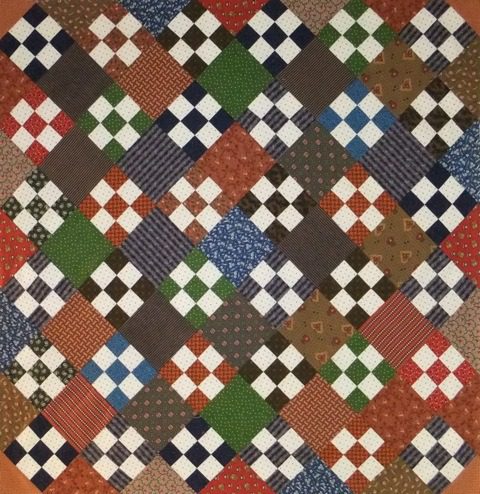
A nine patch quilt from Linda Halpin.
Made of nine squares arranged like a Tic-tac-toe board, it gave them a chance not only to learn how to choose fabrics, but also how to cut squares accurately, and how to match edges and sew with an accurate seam.
Tools You Will Need for Quilting
- Fabric: 100% good quality cotton.
- Pencil: Only use a pencil and make sure it’s sharp.
- Scissors: One for cutting fabric and one for cutting plastic templates.
- Pins: Straight pins hold the fabric pieces together so that you can sew them.
- Pincushion: Pincushions are places to ‘park your pins.’ Many pincushions come with a small emery bag attached that is shaped like a strawberry. Stab your pins and needles into the strawberry to keep them clean and sharp.
- Needles: ‘Sharps’ are all-purpose sewing needles that work well for patchwork. Needles are sized by number, and a #7 or #8 are recommended for beginners. ‘Betweens’ or ‘quilting’ is another type of needle used for quilting.
- Thread: Use good quality white, tan, or gray dressmaking thread for patchwork (assembling the blocks in the top of the quilt) and ‘quilting thread’ for quilting the layers together.
- Templates: Templates are stiff pattern pieces typically made of plastic and available in sheets at quilt or craft stores.
- Iron: A dry iron (no steam) is recommended.
- Sewing Box: Shoeboxes, plastic bins or baskets all make good sewing boxes.
Lessons for Beginning Quilters
1. Choose contrasting colors. When choosing fabrics for any pattern, be sure to pick colors that contrast with each other. Combine lights, mediums, and darks, for example. Look at the fabrics from a distance and be sure the fabrics look different from each other. If they are too similar, the design won’t show up. The fabrics will blend together, ruining the effect of the patchwork design.
2. Cut accurately. Start off by being sure your pattern pieces are accurate. Next, be sure you cut your pieces of fabric accurately. Being off by as little as a tiny fraction of an inch either when cutting the shapes or piecing them together adds up very quickly to mismatched seams.
3. Sew accurately. Traditionally, pieces of fabric that are joined together in a patchwork have 1/4” seams. By cutting accurate pieces, you can align the raw edges of the fabric together evenly when preparing to join them. By stitching with an accurate 1/4” seam, the puzzle pieces will fit together properly. This is a skill Caroline Ingalls impressed on her girls from an early age. Any seam that was not sewn together properly was undone and re-stitched until it was correct. Properly pieced seams not only look better but will last longer. Mary continued to piece accurately-cut squares into correctly-joined blocks even after she lost her eyesight.
4. Press as you go. After squares are joined to make rows, press the seams neatly to one side. This reduces bulk in each row and makes it easier to join the rows together accurately when creating the block. Once the rows are joined together, press those seams neatly to one side, so the fabric in the back of the quilt top lays down neatly. This will result in a block that is neatly done. That makes it easier to join blocks together to create the overall quilt. In pressing, a dry iron (no steam) is recommended. Steam can cause the fabric to stretch, which can lead to problems. If you need steam to tame fabric, spray the block with a fine mist as you go rather than using the steam feature on your iron. It is easier to control that way.
Once you are comfortable with how to cut fabric and join it into a patchwork block, there are hundreds upon hundreds of design possibilities! Squares can be subdivided into triangles to create more intricate patterns.
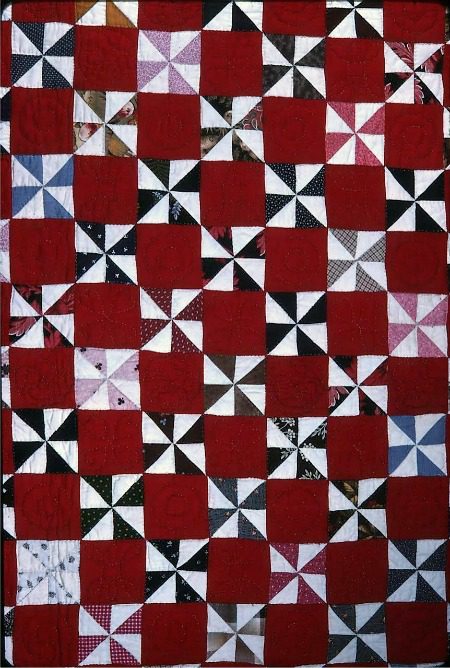
Windmill Quilt Block Pattern: Squares are divided into triangles. Triangles are sewn together to make squares. Squares are joined together to make the Windmill Block.
Blocks can be divided into more than nine segments to allow for greater combination possibilities.
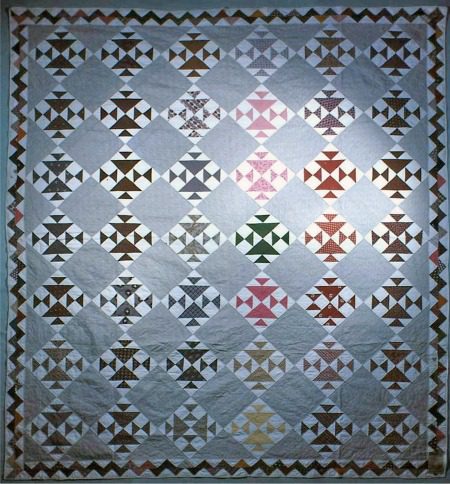
Old Maid’s Puzzle Pattern: Small triangles are joined to make small squares. Small squares are joined to make bigger squares. Bigger squares are joined together to make the Old Maid’s Puzzle Block.
If you are searching for a collection of designs that tie into the Little House on the Prairie stories, I invite you to check out my book Quilting with Laura, which includes a collection of fourteen patchwork designs inspired by Laura’s stories. By the time Laura was a young woman, patchwork blocks had begun to be identified by name. Log Cabin, School House, and Bears Paw were some of the names used. The blocks in the Quilting with Laura book were chosen for their relevant names and are arranged in order of difficulty, so you can learn new skills with each block made. Pieced by hand, as Laura did, the blocks you choose to make will allow you to tell your own prairie story. This book leads you along the way, with everything from how to gather the tools you will need to how to piece each new block.
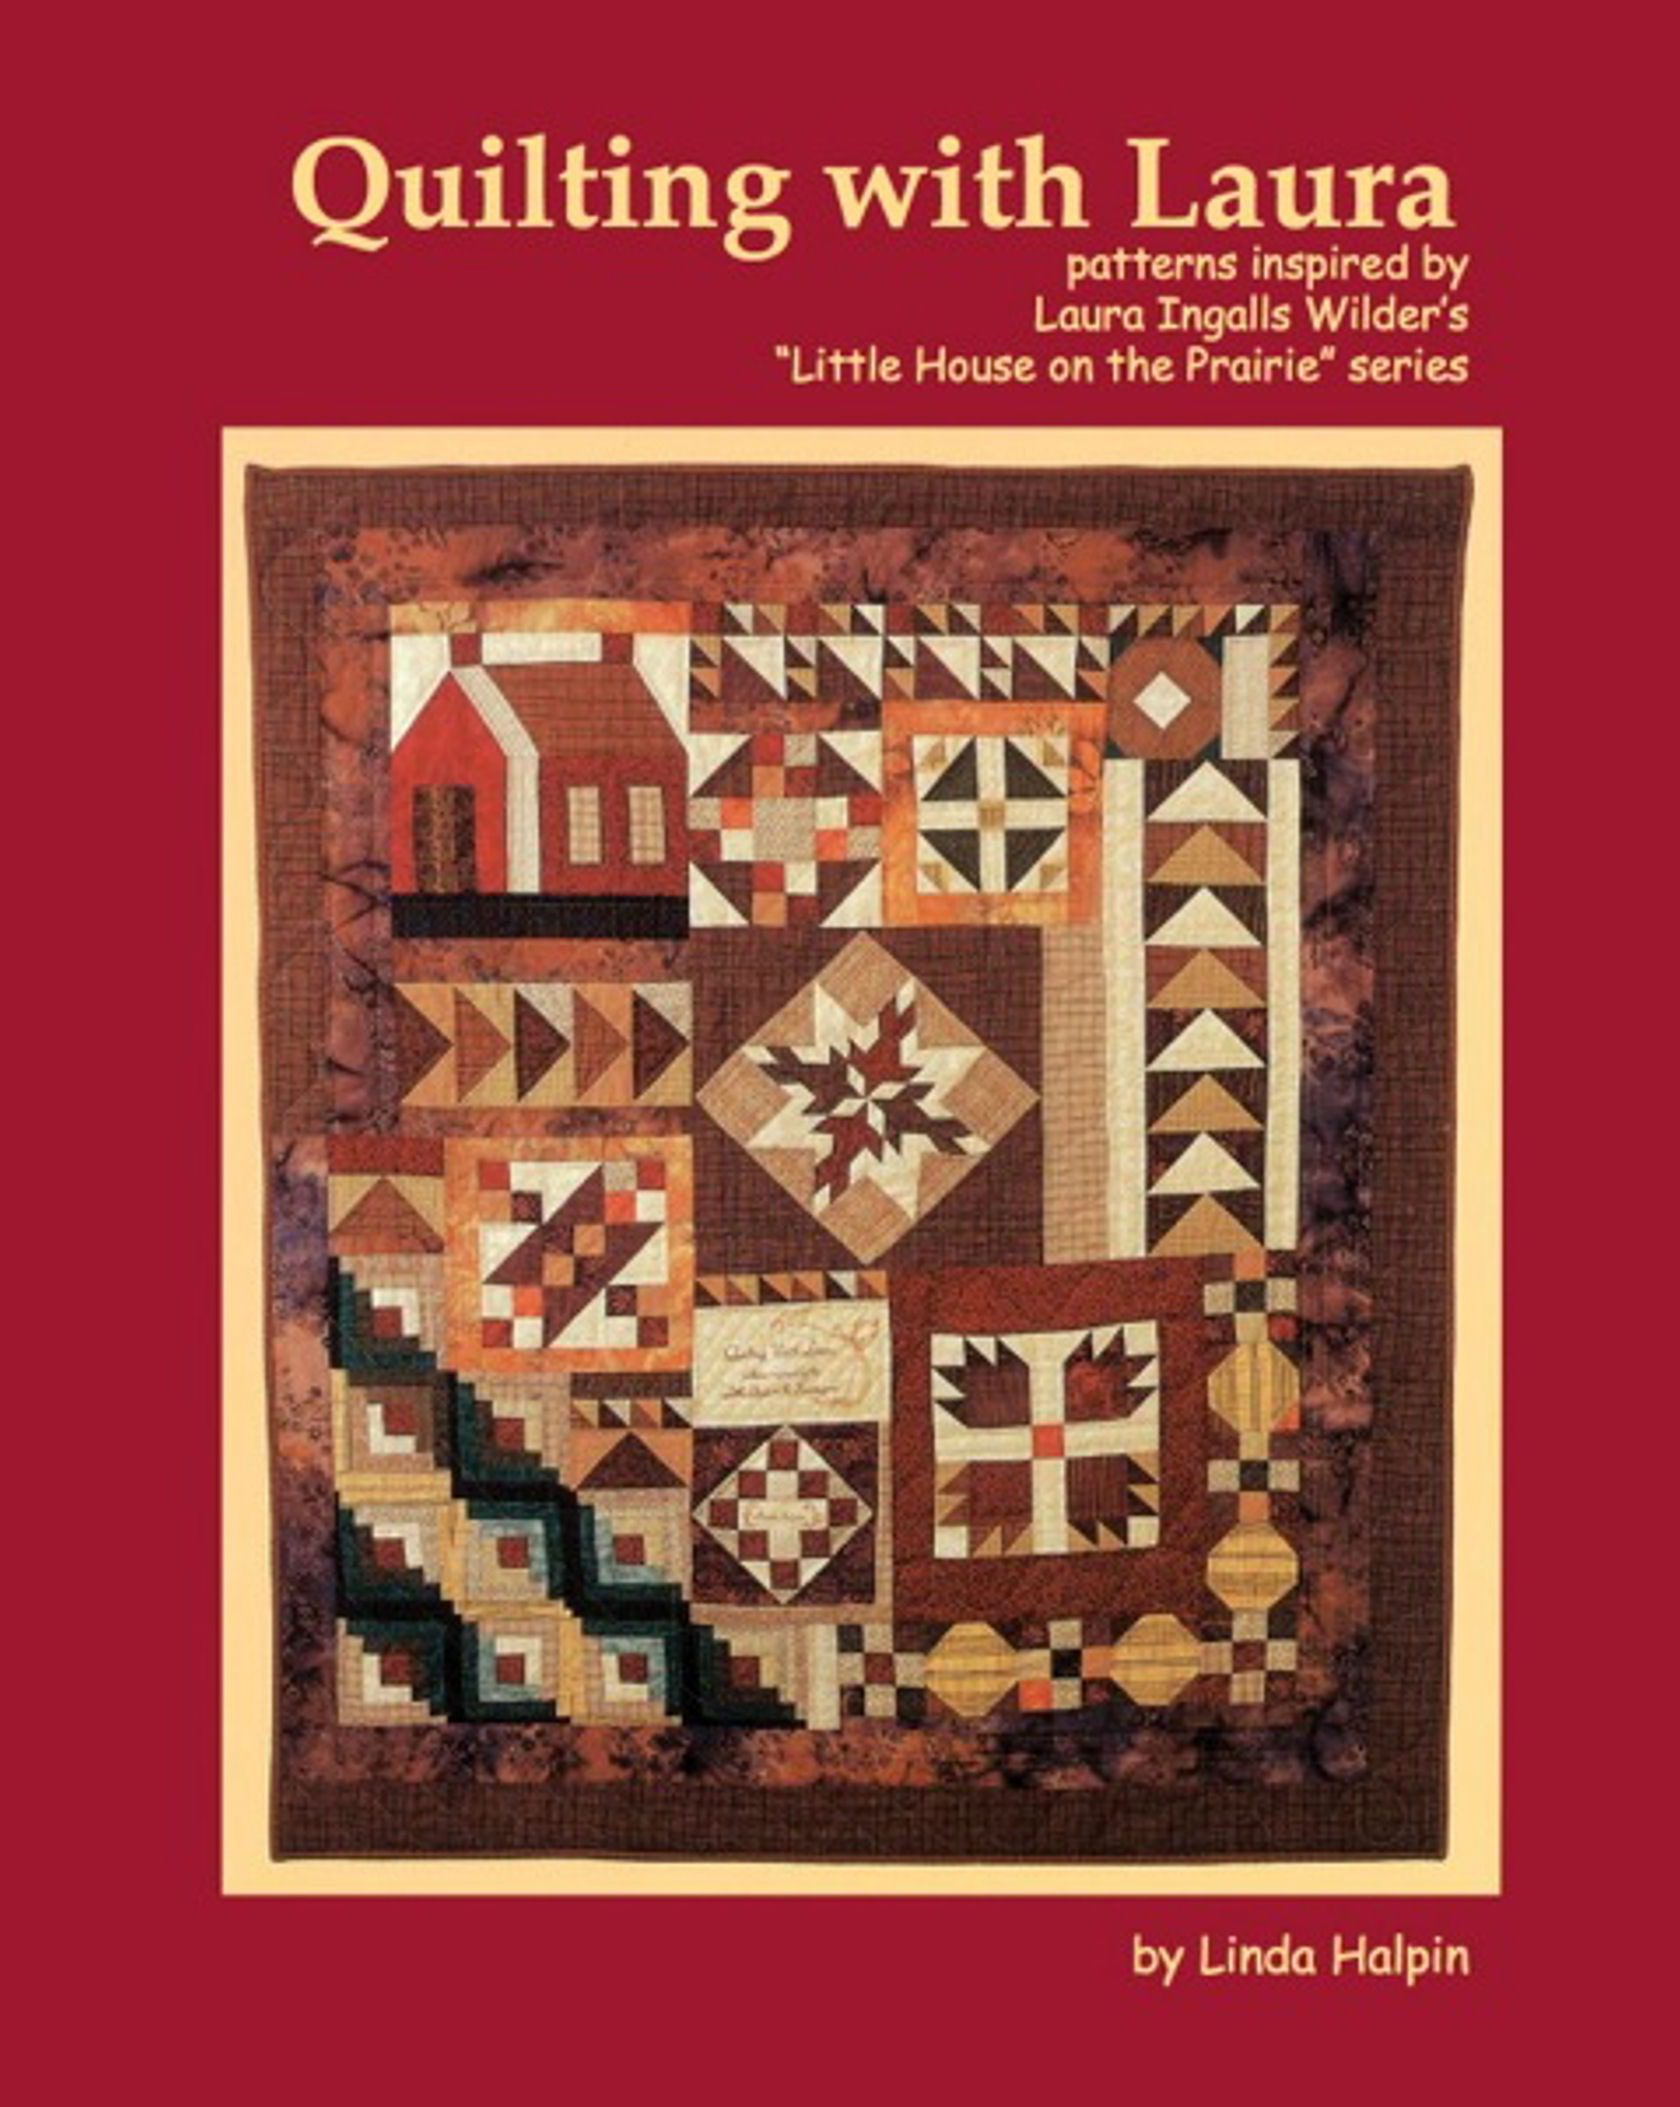
Quilting with Laura by Linda Halpin
Stay up to date with all the Little House on Prairie news, subscribe to our free newsletter for the latest information!
Linda Halpin has been teaching quiltmaking throughout the United States and Canada for over 40 years. A graduate of the Embroiderers' Guild of America’s Teacher Certification Program in Quiltmaking, Linda is author of seven quiltmaking books and numerous patterns. Her book “Quilting with Laura: Patterns Inspired by Laura Ingalls Wilder’s Little House on the Prairie Series” has something for every skill level.

Is there any way I can get the book from you Quilting with Laura? It is very expensive on Amazon,
Thank you, Bonnie
I was in a group with Linda when she lived in Horseheads, NY.
my my my what a beautiful selection of fabrics i am so very happy this is finally HERE THANK YOU VERY MUCH
I so loved watching this series as a kid and repeats later with my kids
Sure to be a big hit
This is my favorite time in history. That is, the beginning of western settlement. Probably because my roots are in Indiana. This is a great idea. I teach quilting classes and am interested in getting the book for classes this winter.
i REALLY LOVE WATCHING THESE MOVIES. i WOULD LOVE TO SEE MORE ON lAURA . I have a daughter named Laura to. loved the site to