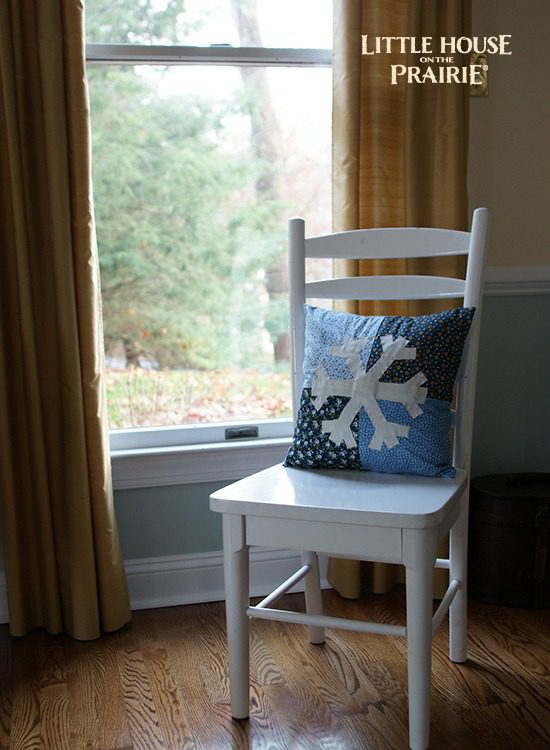
A recent issue of From Scratch Magazine featured some of our fabrics in a quilted snowflake winter pillow DIY. We wanted to share another variation for a winter pillow DIY with this simple four-patch background appliqué snowflake. Both projects feature the beautiful line of Little House on the Prairie fabrics by Andover Fabrics in 2015. Most of the fabrics are sold out. We recommend using a similar county pattern.
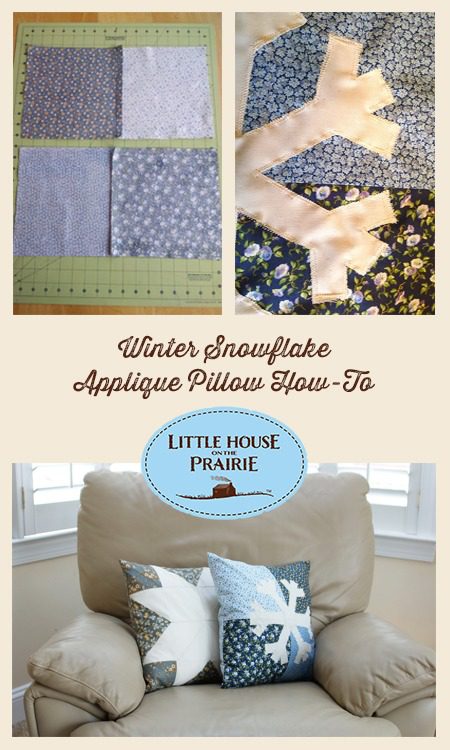
Supplies to Make a Quilted Appliqué Snowflake Pillow for Winter
- ⅓ yard of white or off-white fabric.
- ⅓ yard each of 3 different and coordinating fabrics (you could also use fat quarters).
- ½ yard of fabric that also coordinates (this will be used for the back and one of your squares)
- thread that matches your fabric
- 16 inch by 16-inch pillow form
- snowflake pattern
Click here for the snowflake pattern used for this pillow.
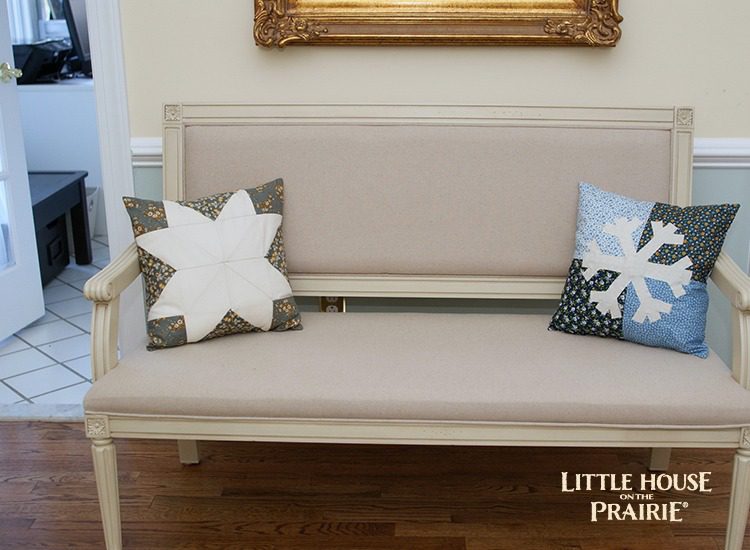
How to Make a Winter Appliqué Snowflake Pillow With Quilted Background
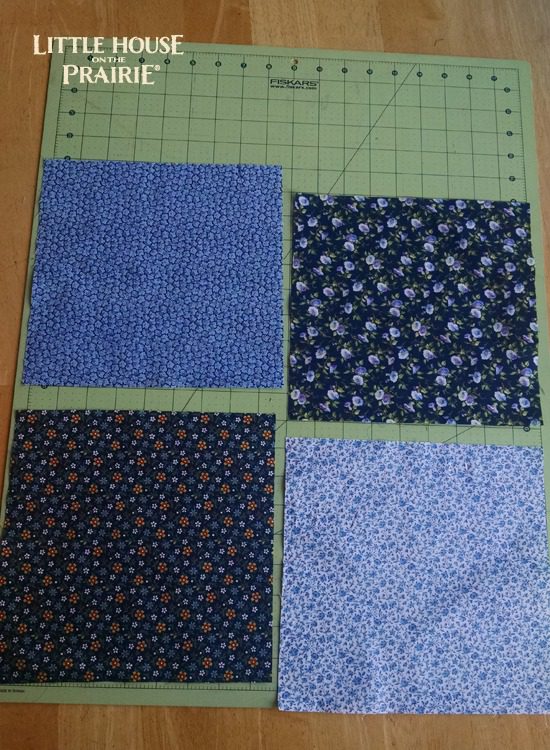
Step One: Cut 4 -9 inch by 9-inch squares, one from each of the coordinating fabrics. Lay them out in the order you want for your design.
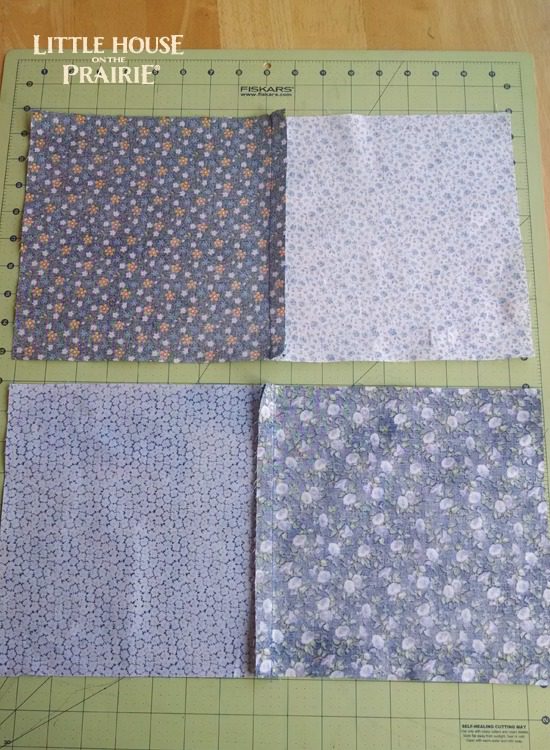
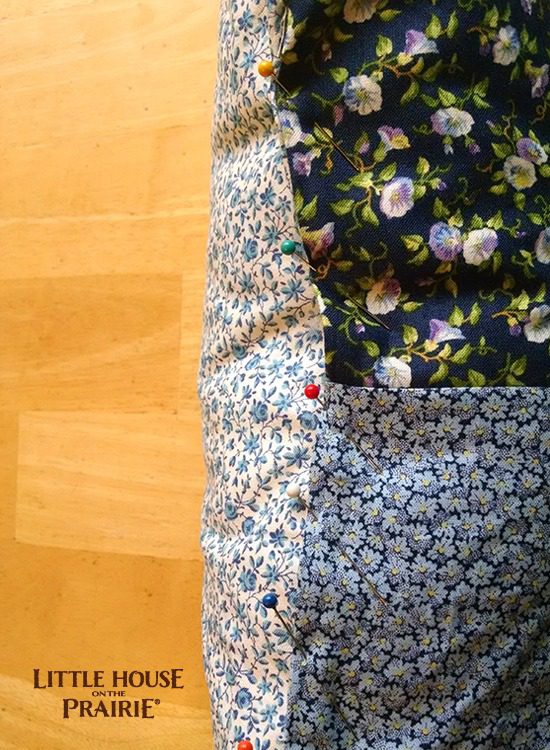
Step Two: Sew the squares in each row together. Sew the rows together, being careful to line up the seams. Iron the seams flat. This is the front of your pillow.
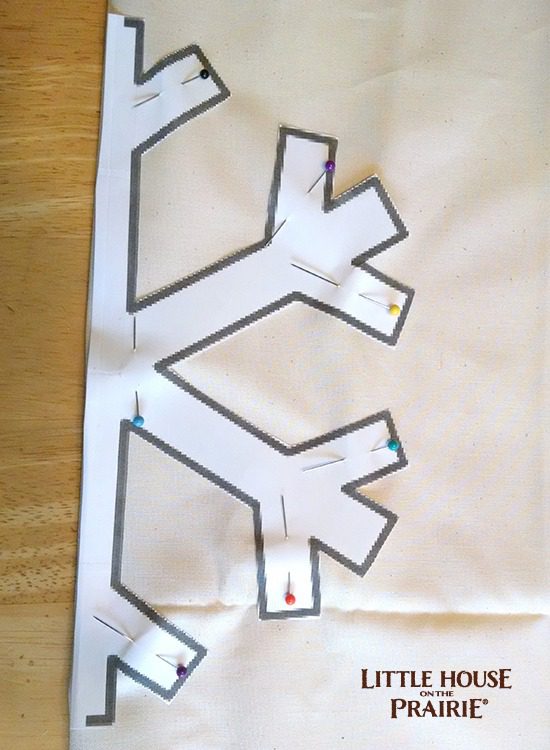
Step Three: Now it’s time for the snowflake pattern! Print out the half snowflake template onto paper and cut it out. Place it on the fold of your white/off-white fabric. Pin well and then cut out the fabric. When you unfold the fabric it will be a symmetrical snowflake.
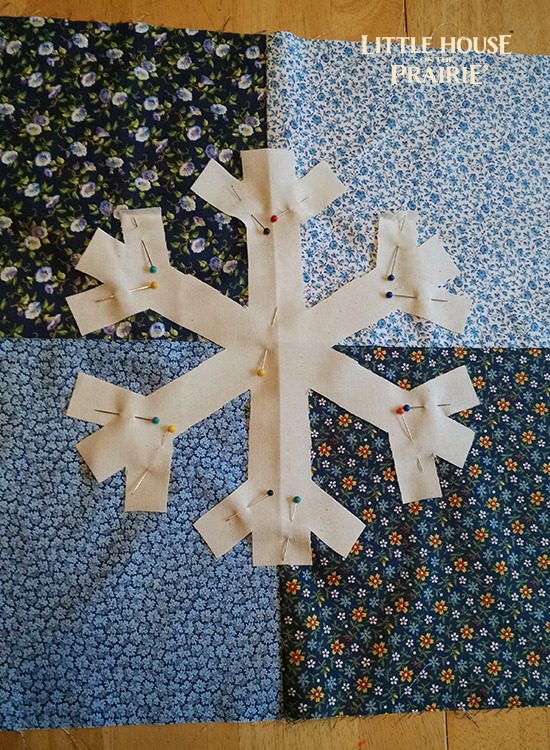
Step Four: Place the fabric snowflake in the center of the front of your pillow. Pin well in place.
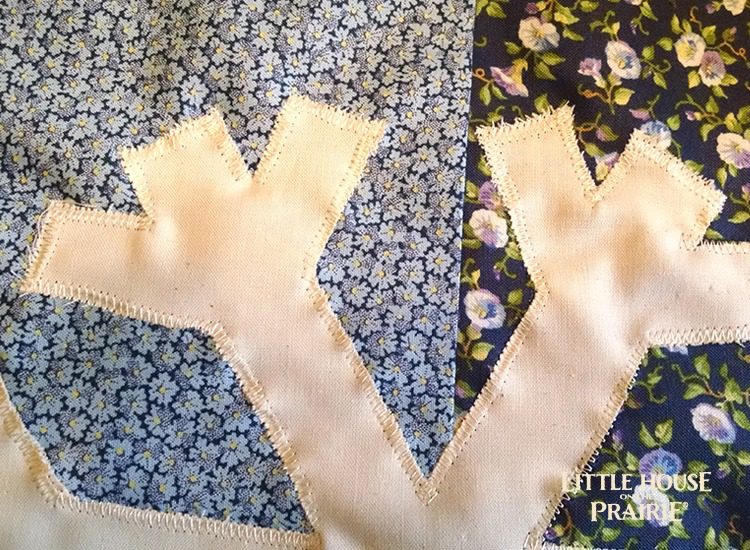
Step Five: Sew around the edges of the snowflake. I set my machine to 1 for Stitch Length and 4 for the Zig-Zag stitch.
Step Six: Measure the length and width of the front. It should be close to 16 ½ inches by 16 ½ inches. Cut the 4th fabric into a square that is the same size as the front that you just measured. This will be the back of the pillow
Step Seven: Sew the front to the back with right sides together. Use ½ inch seam. Leave an opening to insert the pillow form.
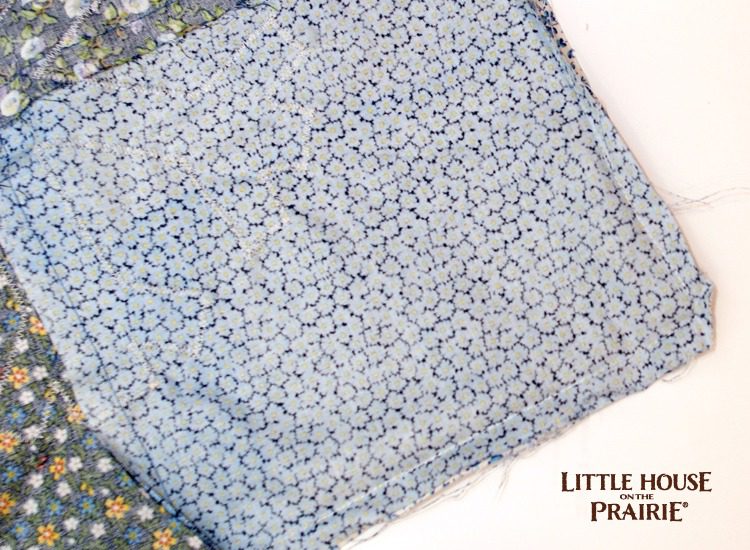
Step Eight: Clip the corners at an angle and then turn the pillow cover right side out. Insert the pillow form. Pin the opening closed and then hand stitch or machine stitch it closed.
You are done! Enjoy your pillow and feel great about creating something beautiful!
Mother of five living in rural Oklahoma with her husband and children, Angela is the Founder of Untrained Housewife, co-founder of the Homestead Bloggers Network and Organic Gardening expert at About.com. She is the author of Backyard Farming on an Acre (More or Less), as well as several other books, all with the common theme of helping people embrace the journey towards self-sufficiency.


This pillow with the snowflake applique` on it is really beautiful. So many lovely things you can make from ‘ The Little House On The Prairie ‘ crafts. Can’t wait to do this one.
I love this I cant wait to get started on the crafts
We live in a travel trailer so I love the self sufficient lifestyle