‘Tis the season for all things festive! It’s time to trim the tree, wrap the gifts, and hang the stockings by the fire. This year, why not create your own handmade stockings that remind you of simpler times? With some help from the Andover Fabrics Little House on the Prairie® fabrics collection, you can create stockings for everyone in your family in no time at all. Here’s a simple tutorial that’s doable even if you have very little sewing experience.
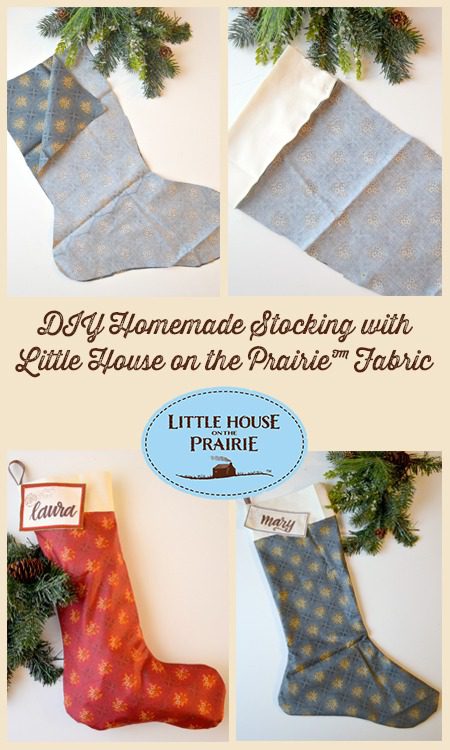
Materials {per stocking} for Your Homemade Little House on the Prairie Stocking
(Click to jump to printable instructions)
- 1/2 yard patterned fabric from the Little House on the Prairie® Collection (Shown are prints from the Mansfield Collection)
- 1/8 yard Prairie Cloth natural muslin
- 1/8 yard Little House on the Prairie Tag Assorted Tags Fabric
- Coordinating Ribbon
- Fabric Scissors
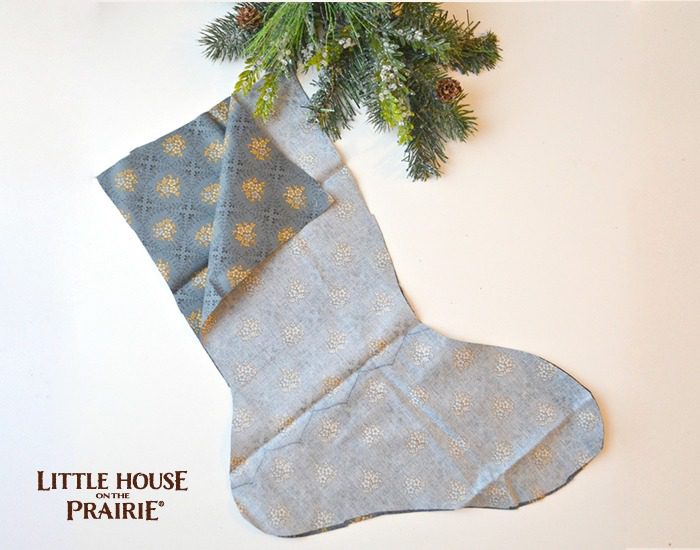
Step 1: Fold your patterned fabric in half with the right sides together. Cut a stocking shape. You can freehand this, or you can trace an existing Christmas stocking. I decided to make mine a little longer like a real “stocking” would be, but you can make yours shorter and wider if you prefer. The great thing about making your own is that you can create them any size and shape you want!
Step 2: Fold your muslin in half. Cut two rectangles, leaving the fold in tact. Mine were approximately 8” x 3 ½” when folded, or 8” x 7” when opened.
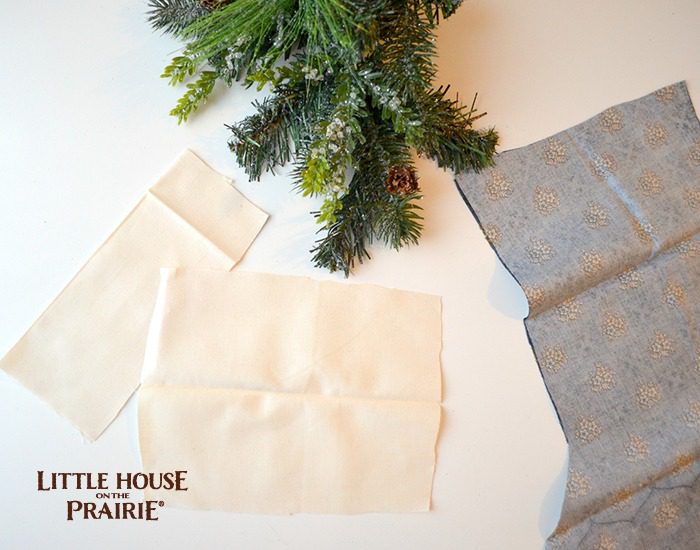
These pieces will be the top of the stocking. Yours should be the same width as the top of your stocking piece and can be whatever height you like in proportion to your width.
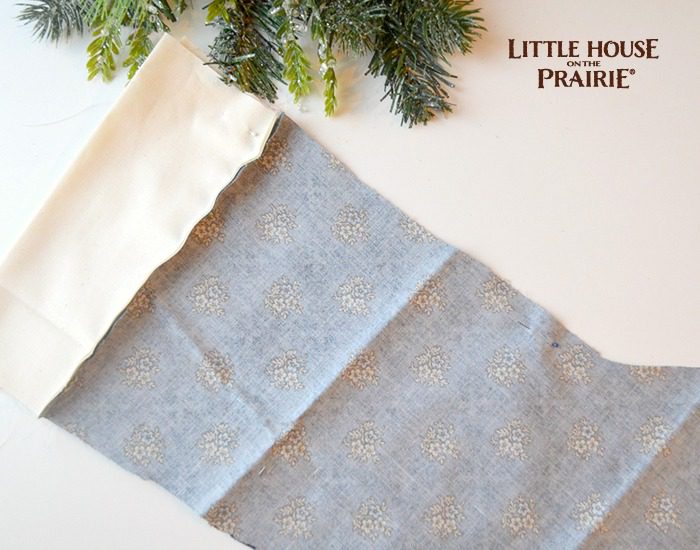
Step 3: Pin the cut edges of one of the muslin pieces to the right side of one of the stocking pieces. The fold should be pointing down toward the bottom of the stocking.


Step 4: Sew the muslin to the stocking with a ¼” seam. I used a sewing machine, but if you don’t have one, you can stitch by hand. Once your seam is in place, open the fabric so the muslin is now the top of the stocking with the fold facing up.
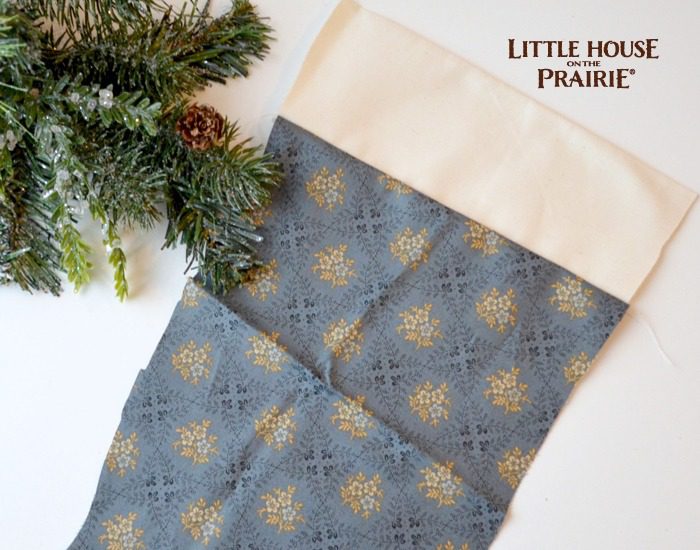

Step 5: Repeat for the other muslin and stocking piece.
Step 6: Pin the two halves of the stocking together with the right sides facing in. Sew around the edges of the stocking with a ¼” seam, leaving the top open.

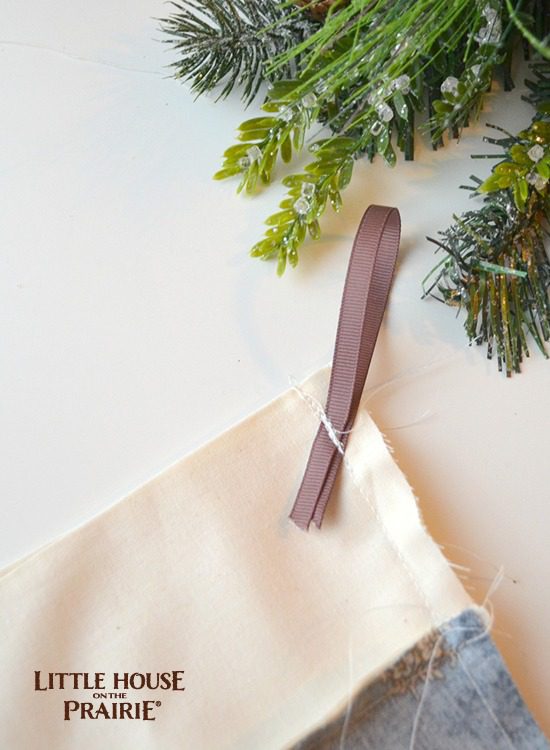
Step 7: Cut a piece of ribbon for the hanger and fold it in half. Sew it in place along the back side seam of the stocking.

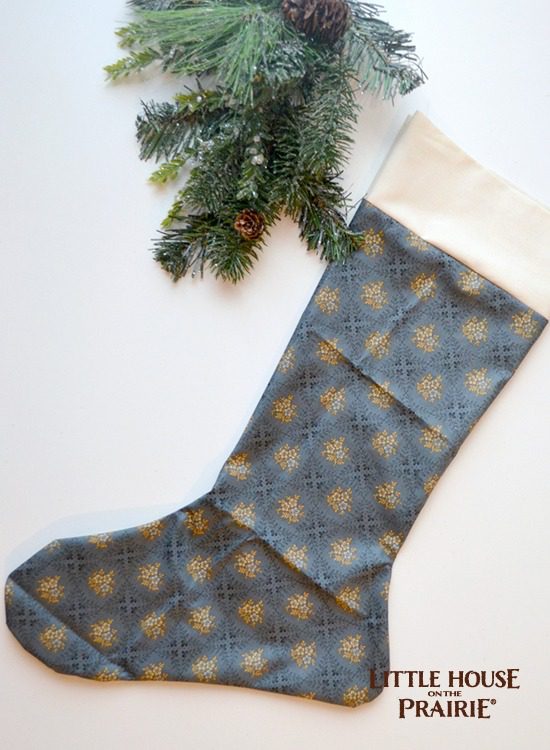
Step 8: Turn the stocking right side out and press.

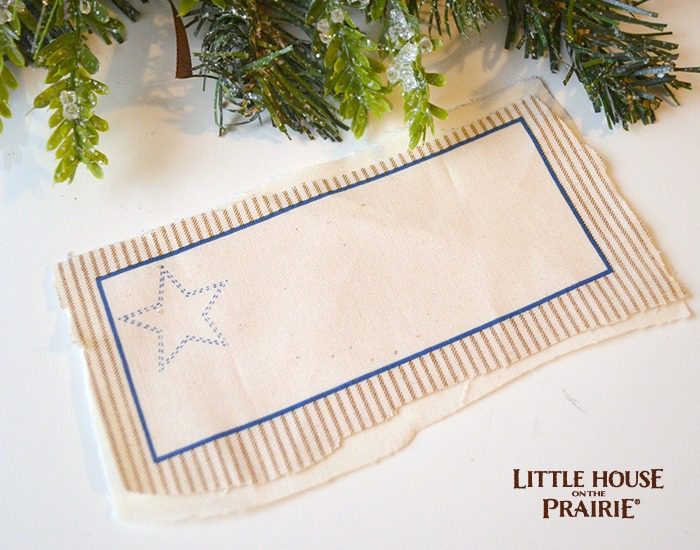
Step 9: Cut out your favorite tag, leaving some excess fabric around it. Next, cut a piece of muslin the same size and pin it to the back of the tag.

Step 11: Write the recipient’s name on the tag.
I used a brown permanent marker and wrote in faux calligraphy. For a quick three-step photo tutorial on how to do this style of lettering, check out my Basic Hand Lettering post on One Artsy Mama!
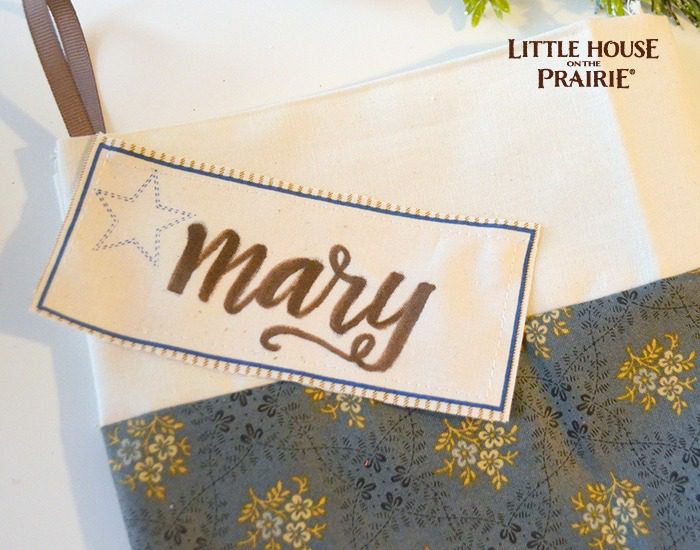

Step 12: Sew, glue, or tie the tag to the stocking. Once your tag is in place, all that’s left to do is hang the stockings and fill them with treats!
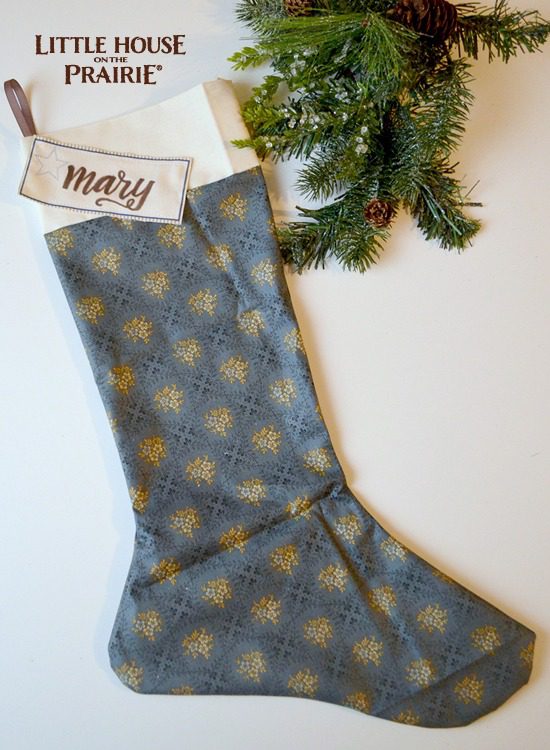

The particular patterned fabric I used is available in two colors, a blue, and a burgundy. Both make a gorgeous finished product, and there are other prints available in the Mansfield Collection to choose from too.
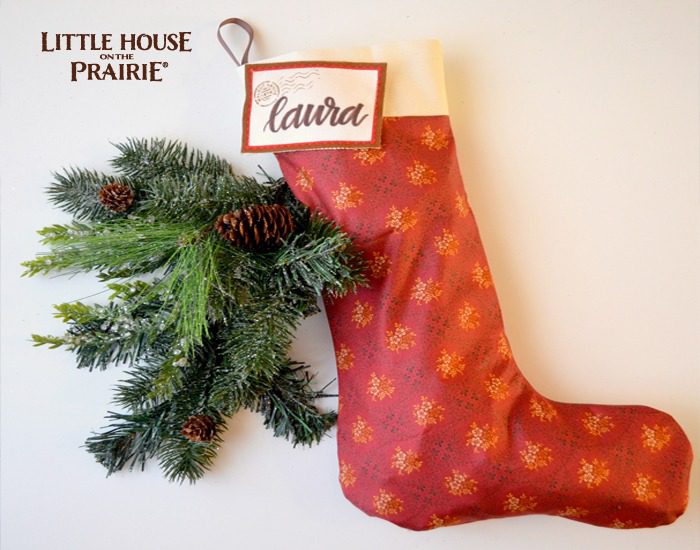

These DIY stockings are totally do-able, no matter what your sewing skill level might be, and they’ll add a touch of old-fashioned handmade charm to your holiday décor. These are also fun to make for friends and neighbors, and make a sweet gift when filled with heartfelt presents! Who on your Christmas list would love a stocking of their own?
Subscribe to our free newsletter for future DIY and Christmas ideas.
Materials {per stocking} for Your Homemade Little House on the Prairie Stocking
- 1/2 yard patterned fabric from the Little House on the Prairie® Collection (Shown are prints from the Mansfield Collection)
- 1/8 yard Prairie Cloth natural muslin
- 1/8 yard Little House on the Prairie Tag Assorted Tags Fabric
- Coordinating Ribbon
- Fabric Scissors
Directions
Step 1: Fold your patterned fabric in half with the right sides together. Cut a stocking shape. You can freehand this, or you can trace an existing Christmas stocking. I decided to make mine a little longer like a real “stocking” would be, but you can make yours shorter and wider if you prefer. The great thing about making your own is that you can create them any size and shape you want!
Step 2: Fold your muslin in half. Cut two rectangles, leaving the fold in tact. Mine were approximately 8” x 3 ½” when folded, or 8” x 7” when opened. These pieces will be the top of the stocking. Yours should be the same width as the top of your stocking piece and can be whatever height you like in proportion to your width.
Step 3: Pin the cut edges of one of the muslin pieces to the right side of one of the stocking pieces. The fold should be pointing down toward the bottom of the stocking.
Step 4: Sew the muslin to the stocking with a ¼” seam. I used a sewing machine, but if you don’t have one, you can stitch by hand. Once your seam is in place, open the fabric so the muslin is now the top of the stocking with the fold facing up.
Step 5: Repeat for the other muslin and stocking piece.
Step 6: Pin the two halves of the stocking together with the right sides facing in. Sew around the edges of the stocking with a ¼” seam, leaving the top open.
Step 7: Cut a piece of ribbon for the hanger and fold it in half. Sew it in place along the back side seam of the stocking.
Step 8: Turn the stocking right side out and press.
Step 9: Cut out your favorite tag, leaving some excess fabric around it. Next, cut a piece of muslin the same size and pin it to the back of the tag.
Step 10: Sew around the inside edge of the tag, attaching it to the muslin. Then, cut around the edges of the tag, trimming away the extra fabric.
Step 11: Write the recipient’s name on the tag.
I used a brown permanent marker and wrote in faux calligraphy. For a quick three-step photo tutorial on how to do this style of lettering, check out my Basic Hand Lettering post on One Artsy Mama!
Step 12: Sew, glue, or tie the tag to the stocking. Once your tag is in place, all that’s left to do is hang the stockings and fill them with treats!
Amy shares honest inspiration for everyday life on her blog. You'll find Honestly Doable craft and home decor projects, Honestly Teachable kids' projects, and Honestly Wearable style and DIY jewelry DIYs! Amy is happiest when crafting, and when she's not covered in paint, you can find her working on professional design collaborations. She is a perfectionist, a recovering English teacher, a ballroom dancer, and a Starbucks addict.


0 Comments