Ma brought out two long strips of brown wrapping-paper that she had saved. She folded them, and she showed Mary and Laura how to cut tiny bits out of the folded paper with the scissors. When each unfolded her paper, there was a row of stars. Ma spread the paper on the shelves behind the stove. The stars hung over the edges of the shelves, and the light shone through them.
—On the Banks of Plum Creek
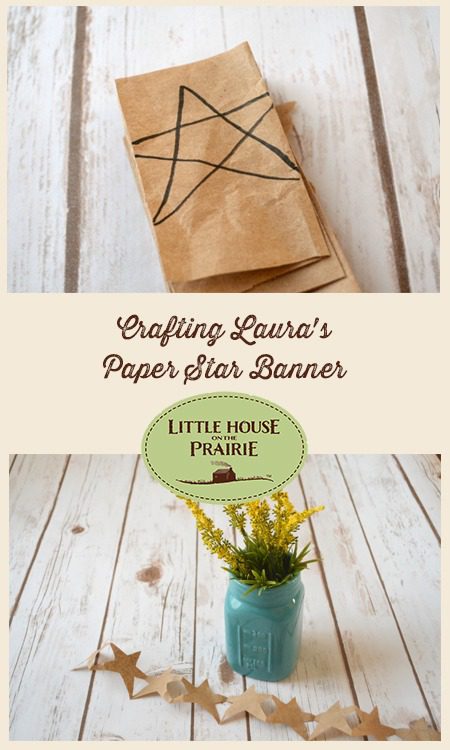
Creating decorations for the home is a centuries-old pastime. Before there were craft stores, it was common for families like the Ingalls to reuse everyday items like fabric, glass, and paper that they already had on hand for new, decorative purposes. In the book On the Banks of Plum Creek, Ma teaches Mary and Laura to turn old brown wrapping paper she had saved into pretty, festive star-shaped garlands. It’s simple to do and adds a whimsical touch to any room, whether on the prairie or in your own home.
How the Ingalls Made The Paper Star Banner
“The windows were shining and the pink-edged curtains were freshly crisp and white. Laura and Mary made new starry papers for the shelves, and Ma made vanity cakes.” Sounds like fun, right?
Here’s how to make this simple and frugal DIY for yourself by following the basic references in the book.
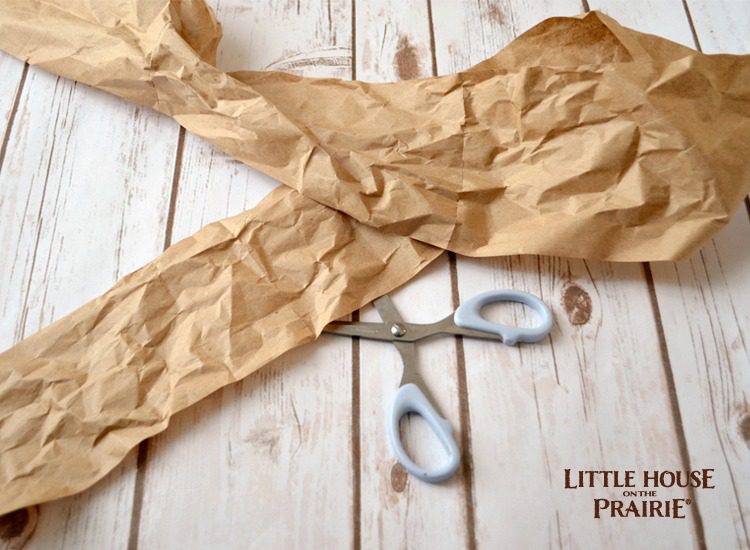
Supplies You’ll Need to Make Paper Banners
• Scissors
• Brown Wrapping or Packing Paper
• Pencil or Marker
How to Make Your Paper Garland
Step 1: Fold your paper back and forth in an accordion fold, as shown below.
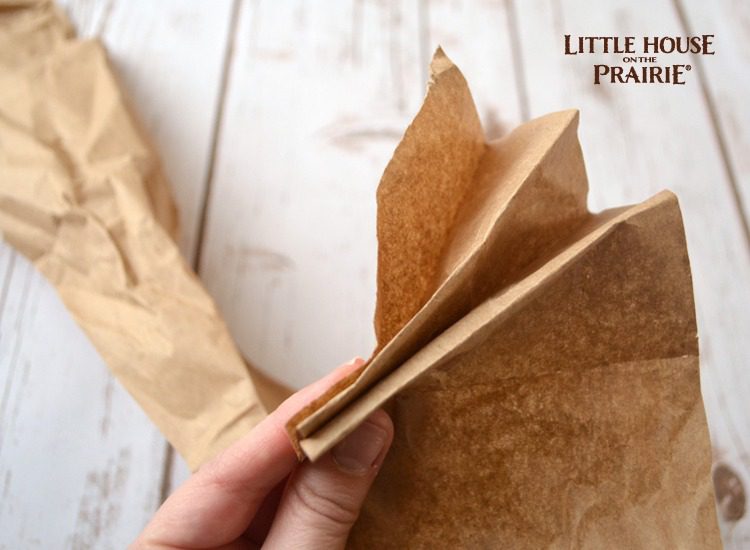
The longer your strip of paper is, the longer your garland will be. For my project, I reused packing paper that came in a box I received. You can also buy rolls of kraft wrapping paper at your local craft store or even use an old paper bag.
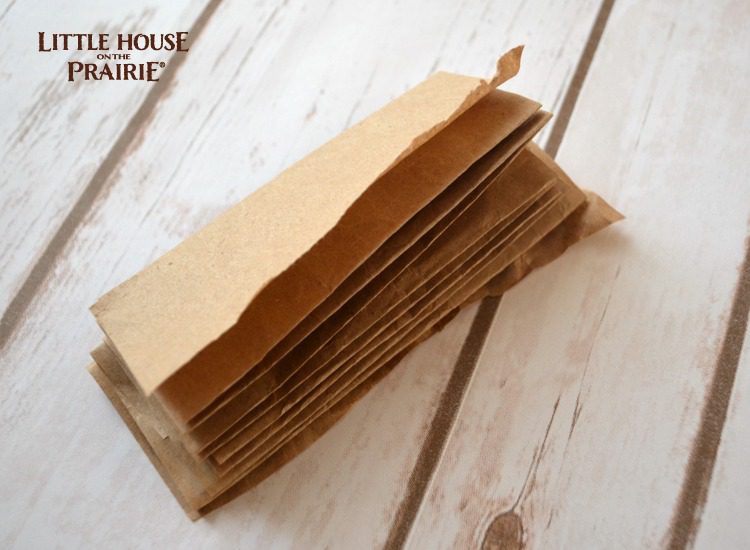
Step 2: Draw a star shape on the top of your folded paper. Notice that the points on the side reach all the way to the edges of the paper – this is very important! Four of the star’s points should be on the folds, which is what connects the stars together.
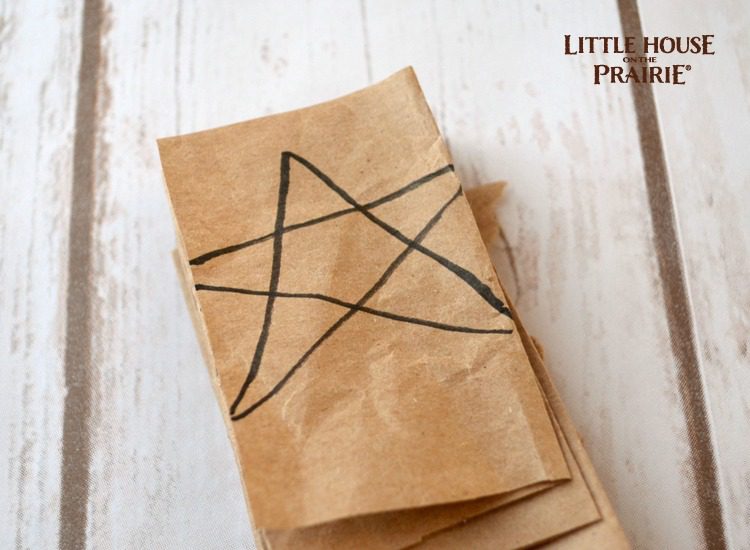
Step 3: Cut out the shape through all the layers but be careful not to cut the folded edges apart. Be sure to leave enough of the fold in tact when cutting because those folded edges are what hold the banner together when you open it up!
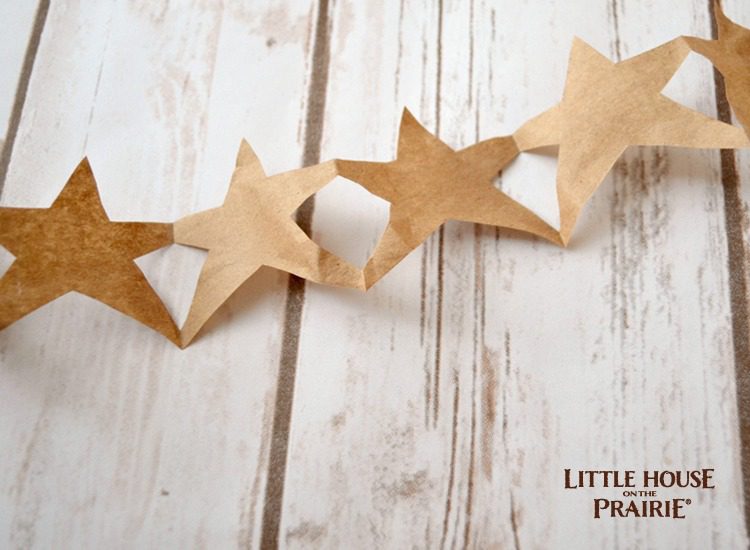
Step 4: Unfold and display your stars wherever you like!
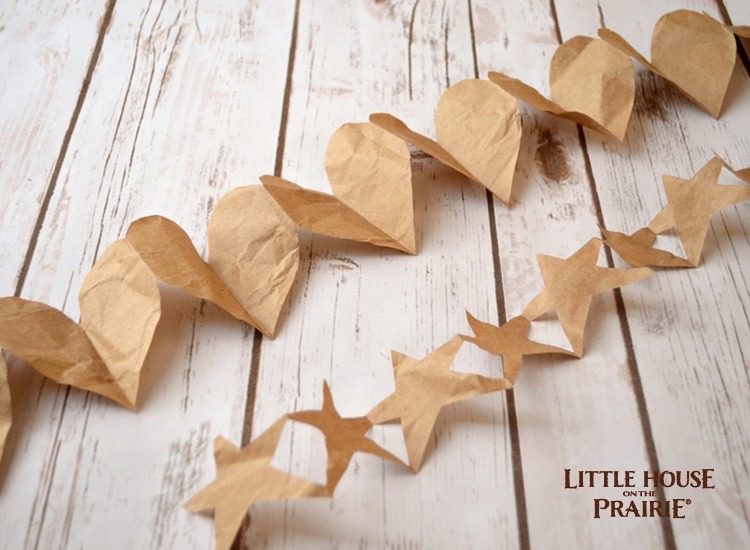
A Valentine’s Day Variation – Heart Paper Banner DIY
With Valentine’s Day just around the corner, it’s the perfect time to make a little festive variation on this craft by changing the stars to hearts! Fold your paper in the same way, but instead of drawing a star, this time you’ll draw half a heart.
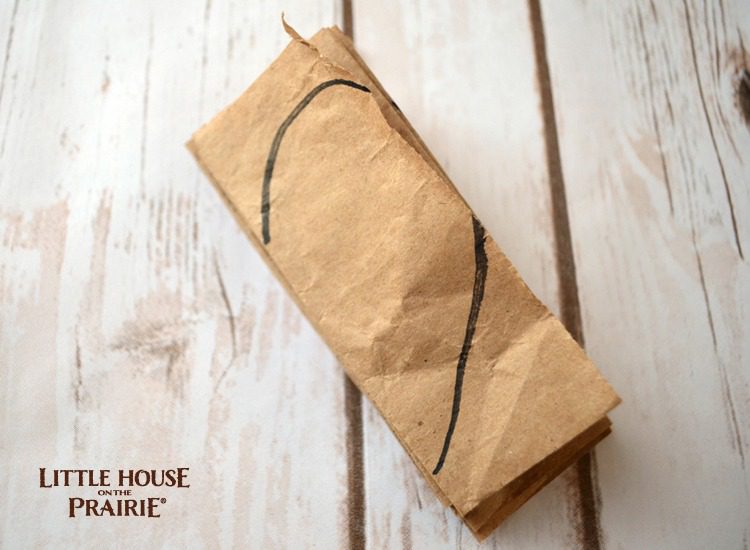
Make sure once again to leave part of the shape on both sides of the fold, as shown, so that everything stays connected.
Cut along your drawn lines, then unfold!
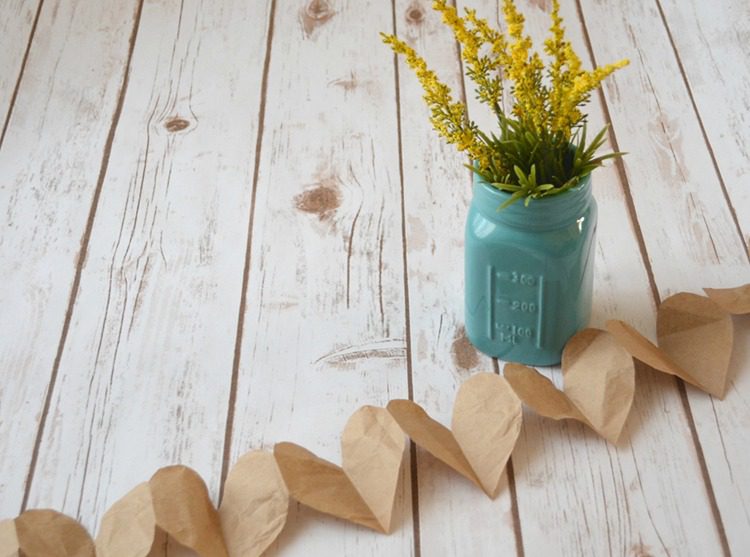
Now you have a sweet and simple garland that’s just perfect for hanging on the mantel or anywhere else that looks cozy and festive. These paper chains are so easy to create and add a fun touch to any room.
What shape will you choose for your paper banners? Perhaps the little house or running girl icons!
Amy shares honest inspiration for everyday life on her blog. You'll find Honestly Doable craft and home decor projects, Honestly Teachable kids' projects, and Honestly Wearable style and DIY jewelry DIYs! Amy is happiest when crafting, and when she's not covered in paint, you can find her working on professional design collaborations. She is a perfectionist, a recovering English teacher, a ballroom dancer, and a Starbucks addict.

I really love Little House in the Big Woods and this was a wonderful website to find!!
I love it and it’s a Great idea! I was as for something and here it is !!! Thanks Very Much!!
I love stars and hearts especially these cut-outs! I enjoy Laura Ingalls Wilder’s series and this website brings her ideas to life.
Its just Amazing and adorable too
I love the star project. My house is gonna be old fashioned with stars, so the star banner will look awesome across my Hearth. Thanks!
I remember making snowflake and heart chains like this in elementary school
I love working with paper. This is something I will definitely have to try!
I so love this show, it’s seldom anymore that you can find family oriented programming.
That is so fun! I love anything made of paper, especially garlands!
I love your projects. I would like to ask a few questions. In the chain of stars &/or hearts pictures you have displayed a painted canning jar with some wildflowers. How is the easiest & hopefully permanent way to color the jars? I think the easiest way would be to use a clean jar & pour some paint inside of it. Swirl it around to cover the entire inside, then turn the jar upside down to pour the excess paint out & let it dry? Is there a different way to make sure it’s permanent? I know this way makes sure it’s a nice glossy shine on the outside. But can you also use this for fresh flowers in water? Thanks for your feedback.
I actually bought this jar pre-colored from Michaels. However, I do know that you can definitely paint mason jars successfully…lots of my blogger friends have done it! Personally, I have used spray paint on the inside of the jar to create a mercury glass effect and a sea glass effect and the water has never bothered either of those.
Clever!
So cute! I love this!
This is so cute!
What a fun project! I like both the stars and the hearts. AND to think Laura made the same ones is amazing.
Thanks for sharing.
Have a great weekend.