Mary was sorting quilt blocks and Laura was making a little apron for her rag doll, Charlotte.
—On the Banks of Plum Creek
Like many other pioneer children, Laura, Carrie, and Mary each had their own doll fashioned out of rags and leftover materials. During the pioneer era, people were not wasteful. They used every scrap of fabric, wood, and any other material that could be salvaged to create something else a family may have wanted or needed. This rag doll puppet is similar to what I imagine Laura, Carrie, and Mary played with during their childhood and the Ingalls would probably have had most of the materials for this doll on hand.
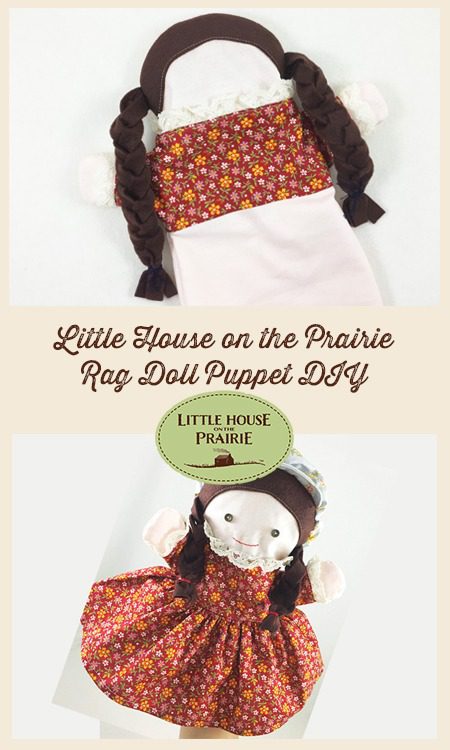
The Ingalls did a lot of traveling throughout the Little House on the Prairie stories, both in the books and in the TV series. This was common with most families in the pioneer days. With food, household items, and other essentials, there really wasn’t room in the wagon for toys. These simple dolls gave children something to love and cherish during the sometimes treacherous trips that the pioneers often made.
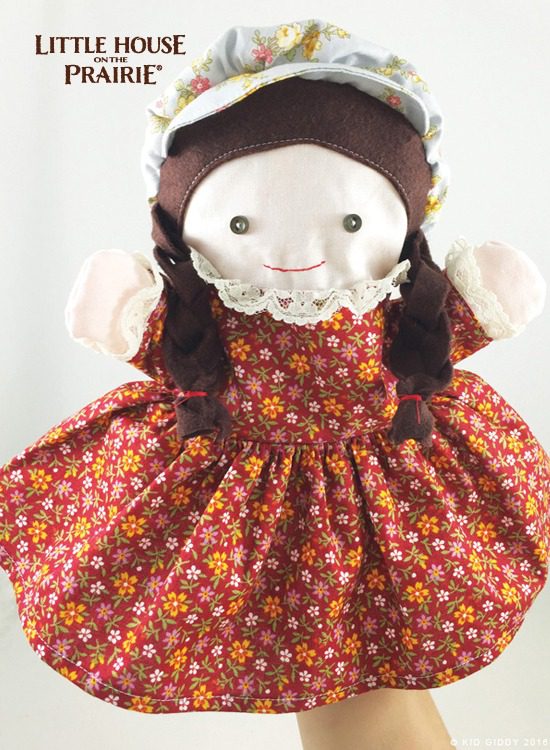
This DIY Reversible Hand Puppet is a simple and fun sewing project. If you love this project and want more, we have 50 great ideas for you to use the Little House on the Prairie® fabric collection here!
MATERIALS NEEDED TO CREATE YOUR DIY REVERSIBLE HAND PUPPET
- 1 Fat Quarter quilter’s cotton skin color fabric.
- 1 Fat Quarter quilter’s cotton for puppet lining, unless making the puppet reversible.
- 1/4 yard quilters cotton for the bodice and skirt.
- 1 Fat Eighth per bonnet (size of bonnet will depend on size up puppet. Use larger sizing for a larger puppet)
- 5”-7” circle for the bonnet
- 1 3/4” x 5”-7” strip (round off the top corners for the brim)
- 2 ft lace trim
- 10” x 12” sheet Wool felt for hair (6 strips 5”l x 1/2”w for braids)
- 2 small 1/4” buttons for eyes (optional)
- Embroidery floss for the mouth (and eyes if for a child under 3 years old)
- Sewing Machine
- Thread
- Needle for hand stitching
- Scissors
CREATING YOUR DIY REVERSIBLE HAND PUPPET
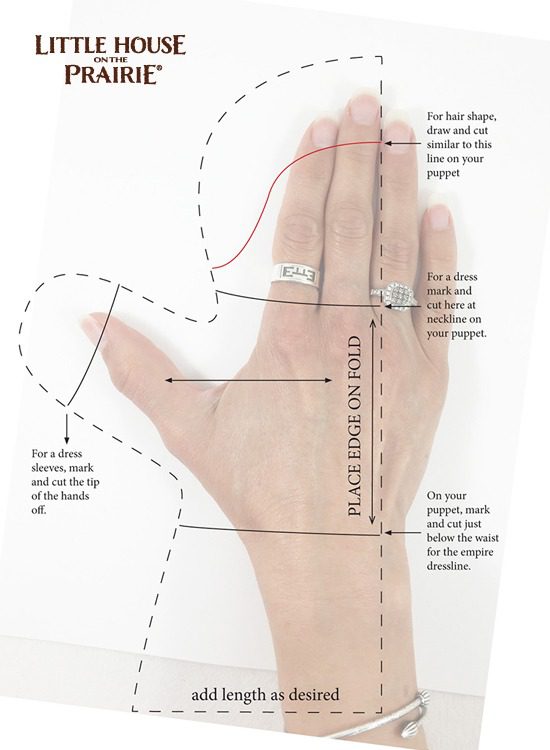
Step One. Trace an adult hand or child’s hand to make your puppet body. Leave enough room, at least 1/2” – 3/4” on all sides around hand for movement and seam allowance. Be sure to place the hand puppet and dress bodice pieces on the fold. Length of body under armpit should be 4”-6” in length.
Step Two. Sew the lace on the front and back bodice piece at the neckline, as well as on the dress sleeves along the raw edge wrong sides together.
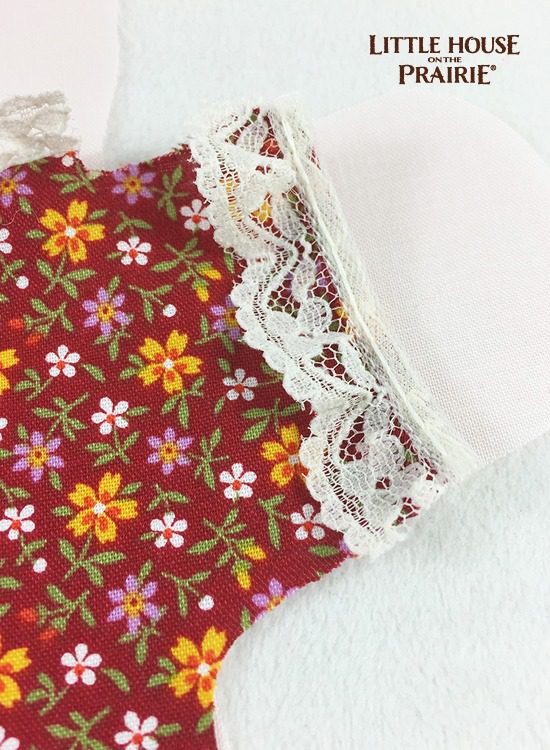
Step Three. Fold raw edges of the neckline and sleeves underneath and topstitch. Fold under the raw edge of the empire waist and glue baste or topstitch if desired.
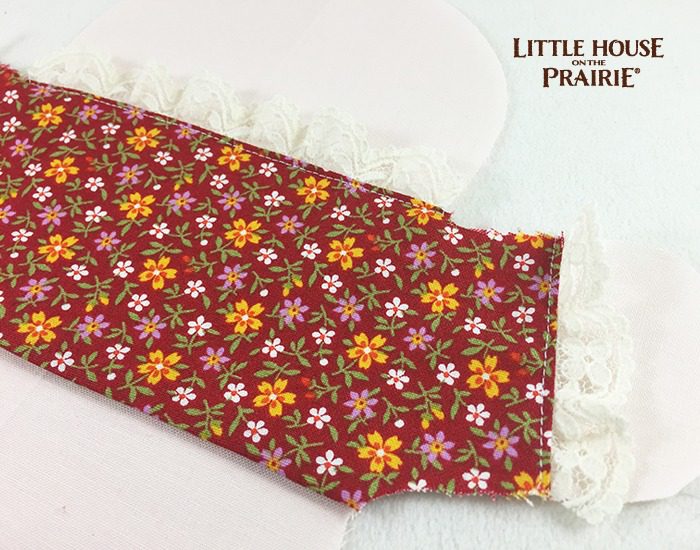
Step Four. Topstitch edge of the hairline in the front, and in the back as well. Sew the eyes and mouth.
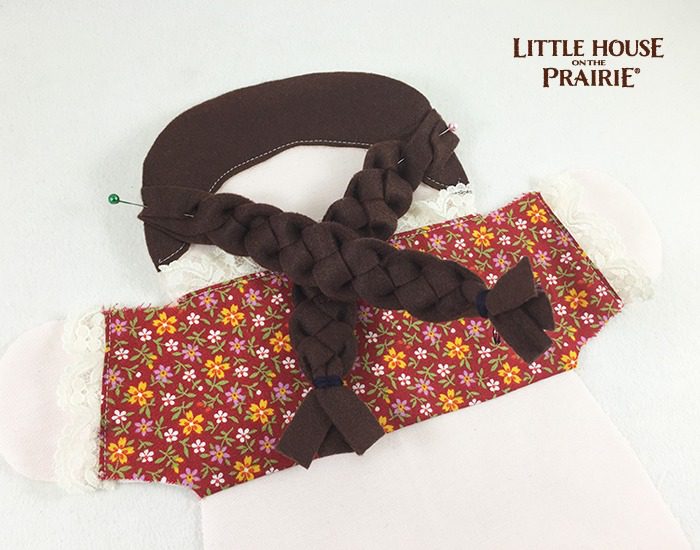
Step Five. Using 1/2” strips of wool felt and braid 3 pieces together, one for each side. Pin the braids in place.
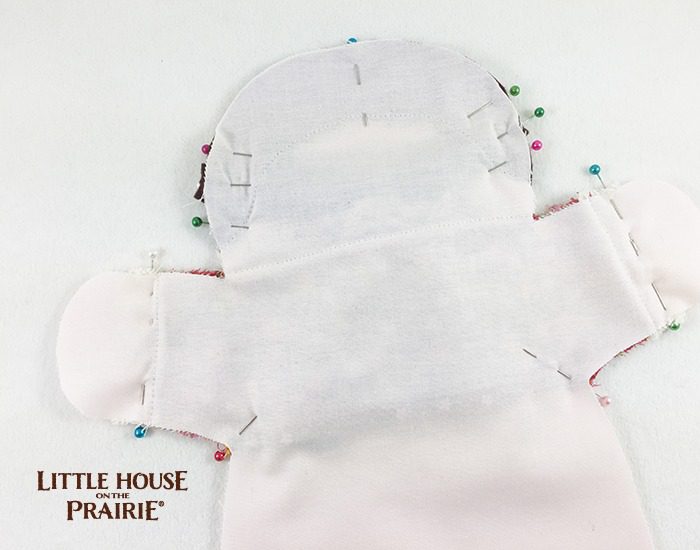
Step Six. Pin front and back puppet pieces right sides together and sew from one bottom corner of the puppet up, around and down to the other corner, leaving the bottom open.
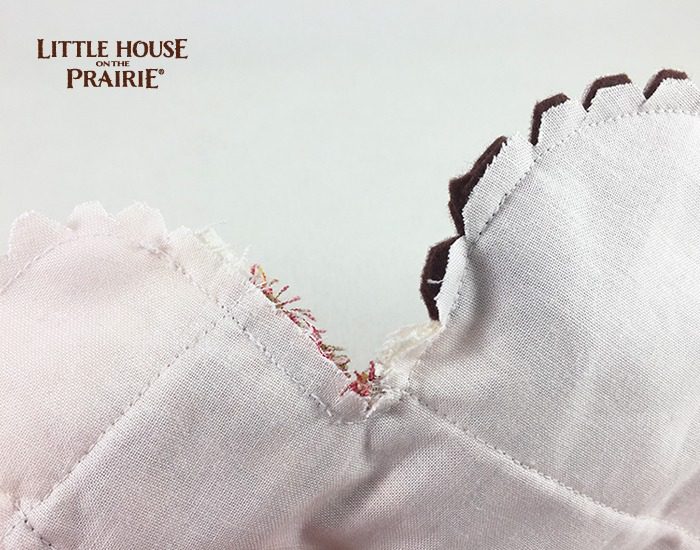
Step Seven. Notch around the puppet head and hands, and clip inside the neck creases and armpits. Turn the puppet right side out (Fig 7).
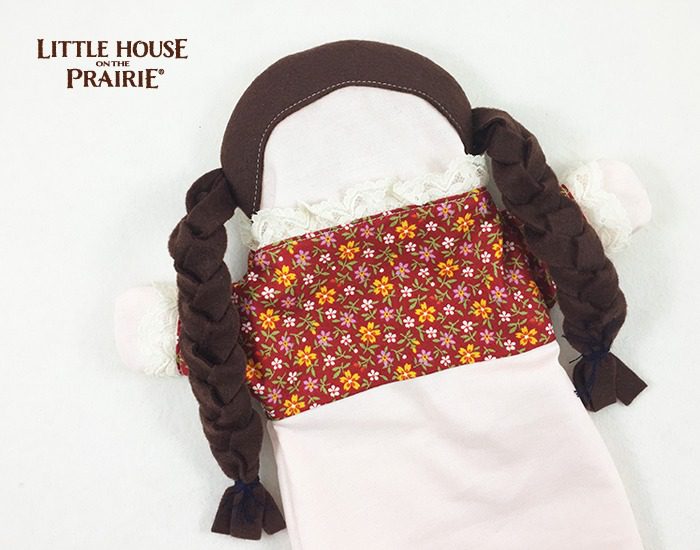
Step Eight. Cut a 5” x 24” strip of fabric for the skirt and gather one edge using a ruffler foot or basting stitch.
Step Nine. Pin gathered edge of the skirt piece right sides together to the folded edge of the bodice. Pin center of the skirt to the center of the puppet front so the joining seam is in the center back. Trim excess seam allowance. Sew gathered skirt edge to the puppet body.
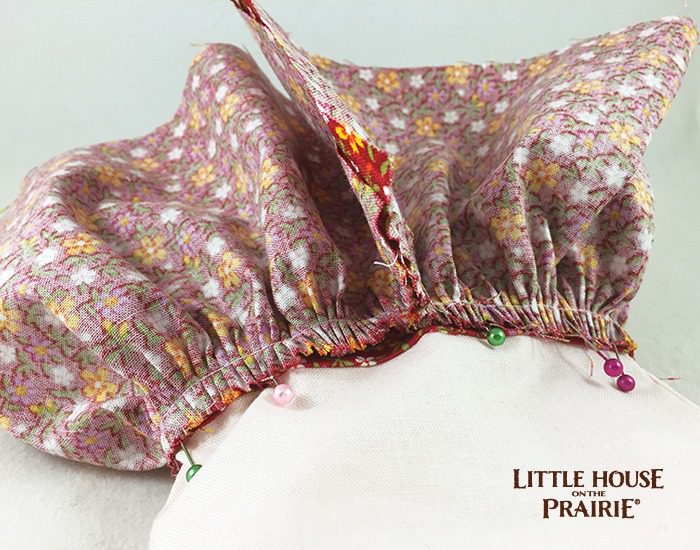
Step Ten. Make the bonnet brim by placing two like pieces right sides together and sew the curved edge. Notch the outward curve and turn right side out to topstitch the same curved edge that was sewn.
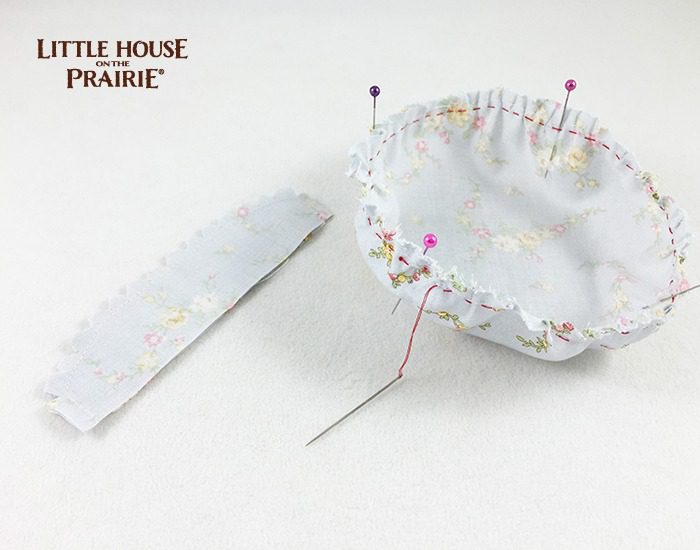
Step Eleven. Gather edge of the bonnet circle using a ruffler foot or basting stitch. Pin the edge to the head to determine proper diameter. Unpin.
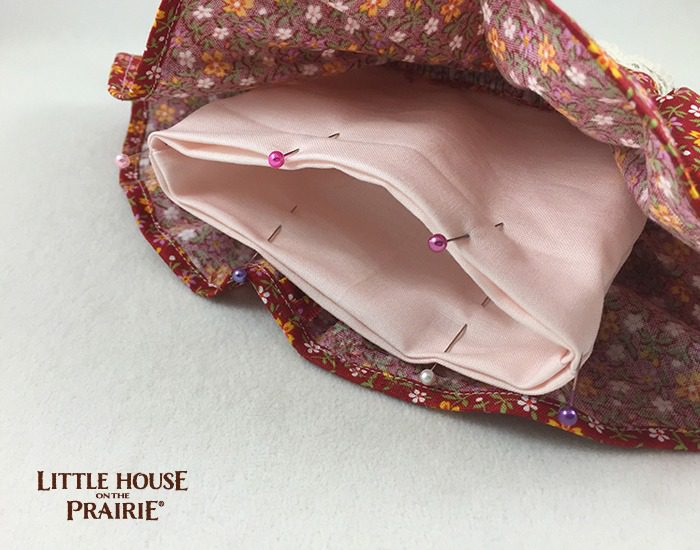
Step Twelve. Pin brim of the bonnet to the edge of the bonnet circle and sew in place.
Step Thirteen. Pin bonnet brim center to the top center of the head. Hand stitch bonnet to head all the way around, tucking under the raw edge as you go along.
Step Fourteen. Sew two hand puppet lining pieces together; clip and notch accordingly.
Step Fifteen. Place lining inside puppet body, wrong sides together, matching seams. Turn under bottom edge of lining and puppet; pin in place. Top stitch around the folded edge to close.
Step Sixteen. If you want to make your puppet reversible, simply make a second puppet instead of using a plain lining.
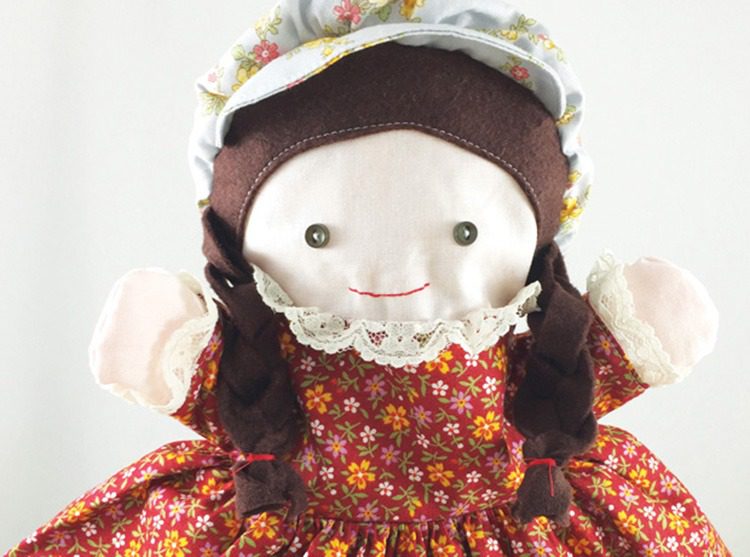
This adorable puppet has so many fun uses! Make a few, change the hair color and eye color to act out stories from the Little House on the Prairie books or from our recommended reading list for children. What other fun ways do you think children could use this hand puppet?
If you want a beautiful collectible doll to go along with your new fun hand puppet, this beautiful 18″ Laura Ingalls doll should be the first on your list!
This pattern/tutorial is copyright protected and cannot be distributed for sale or mass produced. You can sell items made with this pattern/tutorial if credit is included as follows: “Hand Puppet pattern by Kerry Goulder (Kid Giddy) as published on littlehouseontheprairie.com.”
Subscribe to the Little House on the Prairie newsletter for more fun and creative homemade craft ideas.
Kerry Goulder has been sewing for fun since she can remember. After a sculpture class in college, a wedding and two children, Kerry began designing many unique patterns under her Kid Giddy® label, and wrote her first book, Sewing Tales to Stitch and Love: 18 Toy Patterns for the Storytelling Sewist, with F+W Media. Kerry's company motto is to "add more giddy to your life." This is a constant reminder to have fun and to do things that make you happy, which, of course, means more sewing and crafting. Kerry lives in Southern Maine with her husband and their two daughters. When she's not sewing, she loves to read, run and is training for her third degree black belt in Shaolin Kempo Karate.


I am a child and I made it! It is easy to make and it is cute!
I have a great granddaughter and niece I’m making the puppet doll for I’m so very excited. Can’t Wait.
I wish I could buy one that’s made already I can’t sew for the life of me.
It is the most primitive pattern I have ever seen!
I can never say I forgot my doll pattern again; I always have it with me my hand. Awesome idea!
I love it. I ‘make it as a gift for children.Thank you very much.
This is so cute! I can’t wait to make 1 Thank you
Thanks so much for the WONDERFUL pattern . My granddaughter will LOVE it !!!!!
I love it!
Julia