At last, as Grandma stirred, the syrup in the saucer turned into little grains like sand, and Grandma called: ‘Quick girls! It’s graining!’
Aunt Ruby and Aunt Docia and Ma left the dance and came running. They set out pans, big pans, and little pans, and as fast as Grandma filled them with the syrup, they set out more. They set the filled ones away to cool into maple sugar.
—Little House in the Big Woods
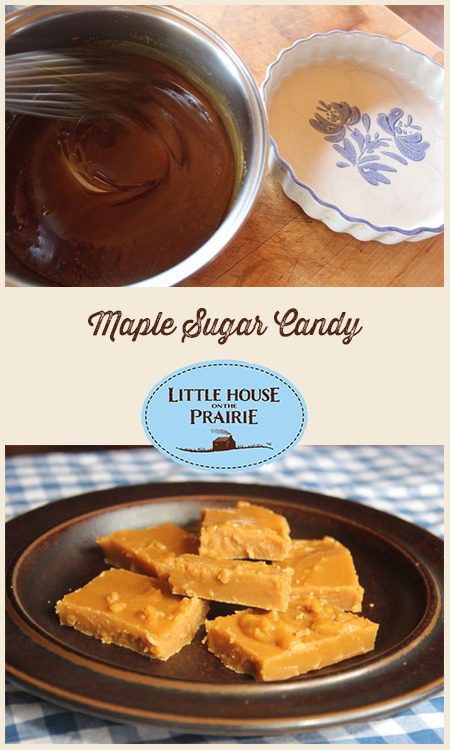
When Laura, Mary, Carrie, Ma and Pa still lived in the Big Woods of Wisconsin, they traveled by sled through the woods to Grandma and Grandpa’s house to join them in gathering and boiling maple sap to make cakes of brown maple sugar.
Sugaring season was a celebration and a lot of hard work requiring all hands on deck. While Grandpa and the men collected buckets of sap and carried them back to the house with wooden buckets on yokes, Grandma and the women stayed indoors to boil the sap in a big brass kettle.
Eventually, the sap would evaporate enough water that it would become maple syrup, and by continuing to heat the syrup, it would grain into maple sugar.
Luckily, we do not need to carry buckets full of sap through the woods to enjoy delicious maple sugar candy at home. This recipe walks you through the process of making your own maple sugar candy, starting with store-bought maple syrup.
However, if you are inclined to collect sap to make syrup and candy from scratch, please read the section after the recipe in which I describe how my family taps the black walnut trees on our property each year to make a delicious black walnut syrup.
Ingredients:
- 2 cups real maple syrup
- Heavy stainless steel pot
- Candy thermometer
- Plates, muffin liners, baking sheets, or molds in which to cool the candy
Directions:
Step One
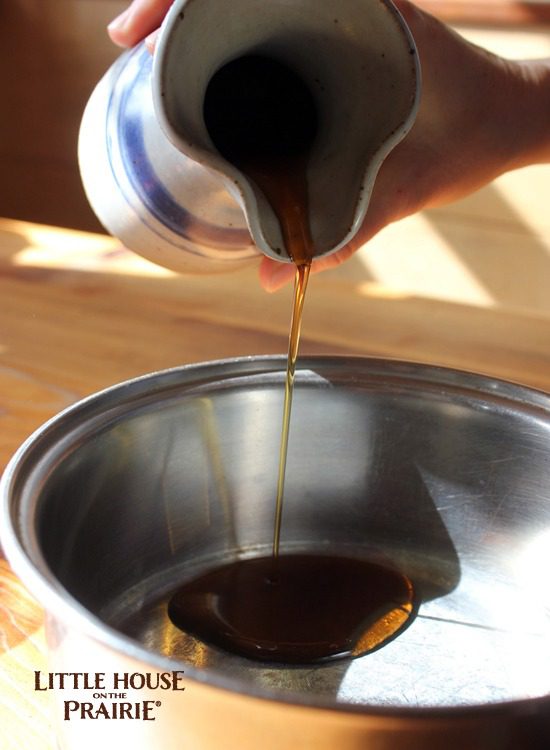
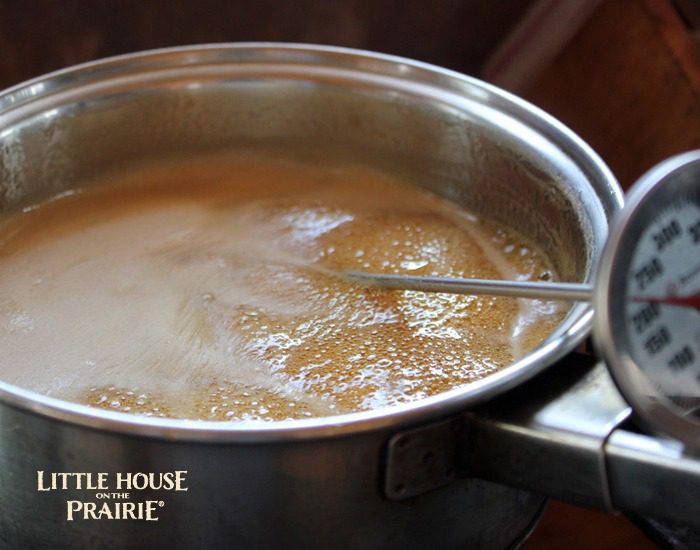
Pour the maple syrup into a heavy stainless steel pot and bring to a boil over medium heat. Using a candy thermometer, continue to boil the syrup until it reaches a temperature of 235 degrees F (110 degrees C), stirring occasionally. This step may take about a half hour.
Step Two
Remove the pot from the heat and let the syrup cool to 175 degrees F. Do not stir the syrup during this time. It will take about 5-10 minutes to cool.
Step Three
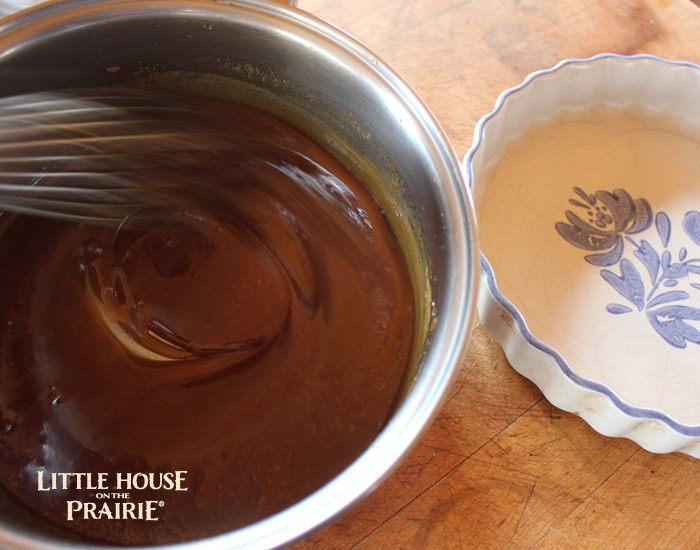
When the syrup reaches 175 degrees, begin to stir with a wooden spoon or whisk rapidly for about 3-5 minutes, until the mixture becomes thick and creamy and lightens in color.
Step Four
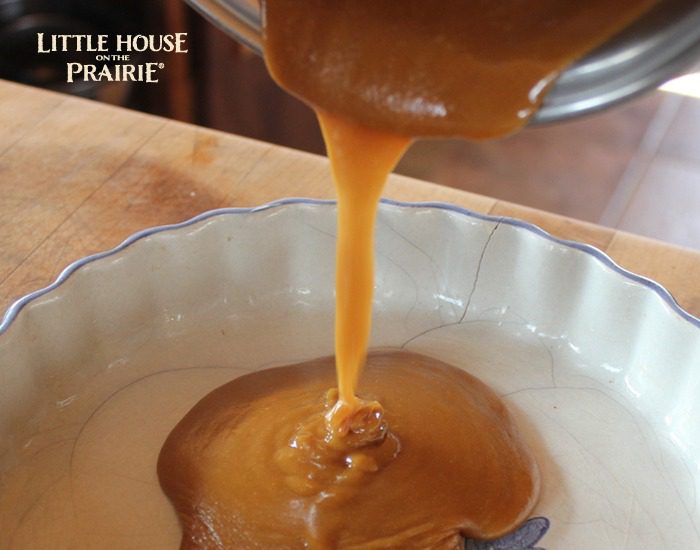
Working quickly, pour the thickened syrup into molds, muffin liners, or onto plates to cool. It can be helpful to lightly grease the molds or plates first with butter or coconut oil.
Step Five
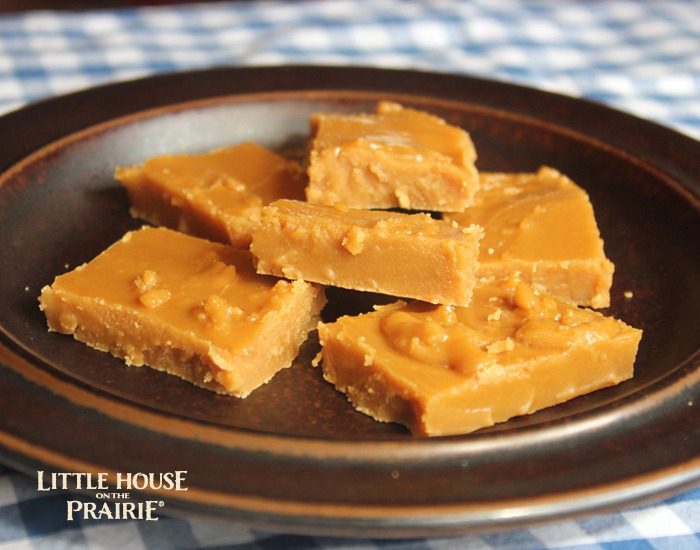
Let the maple sugar candy cool completely. Enjoy as is, or crumble on top of yogurt, oatmeal, or your favorite sweet treat.
While modern day syrup production looks different than what Laura and her family experienced in the Big Woods, home-scale syrup making is not that dissimilar!
My family taps the black walnut trees on our property each year, boiling the sap down to make a delicious black walnut syrup. While the flavor is perhaps a bit earthier and nuttier than maple syrup, the process of making black walnut syrup is the same.
We tap 14-20 trees each winter, usually in February. Sugaring season begins when daytime temperatures rise above freezing, and nighttime temperatures remain below freezing.
In Little House in the Big Woods, Pa describes to Laura how Grandpa prepares for sugaring season. While Grandpa worked all winter to make handmade wooden buckets and wooden troughs to collect sap, our family uses metal spiles that are bored into the trees, and metal or plastic buckets.
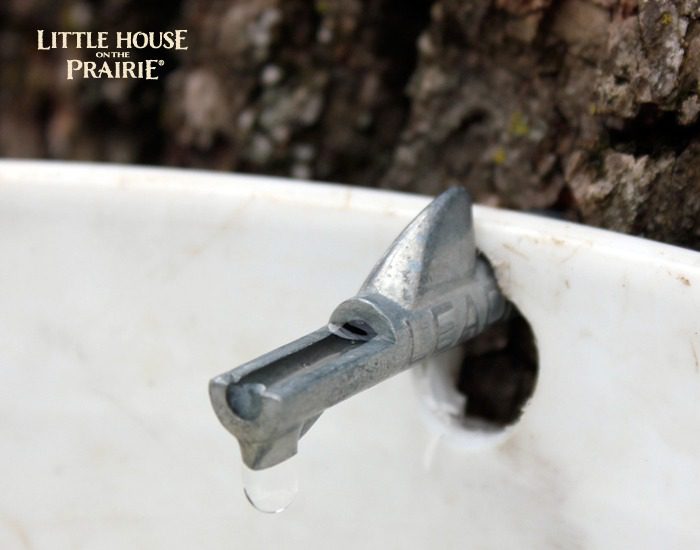
Like Grandpa, we head into the woods each day to collect the sap, transferring it into larger buckets and hauling it home to boil over a campfire. This is an exciting time for our family, and we look forward to the daily walks and the boiling pot of sap.
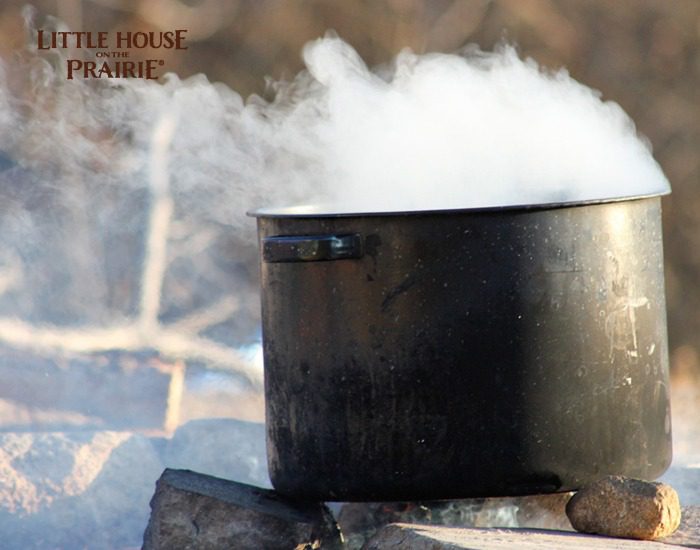
When our sugaring season is complete, we will have made 1-3 gallons of black walnut syrup, hardly enough to boil down further to make into black walnut sugar candy, but plenty to enjoy over pancakes all year long.
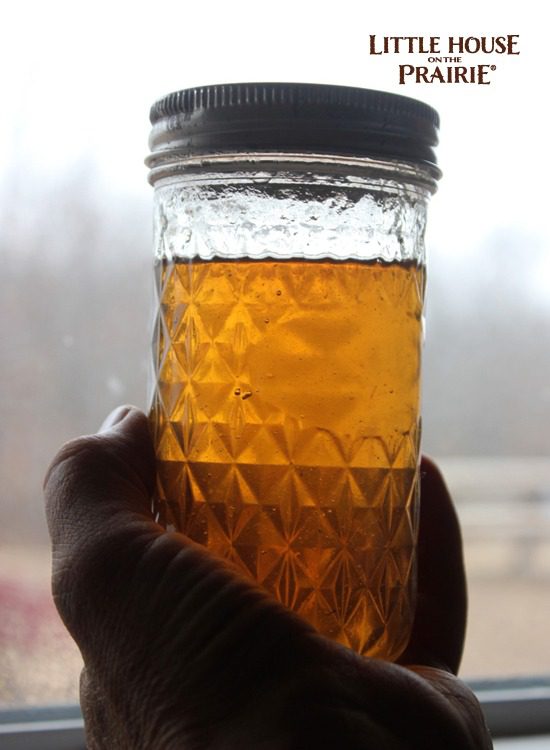
Would you like to make your own syrup and maple sugar candy at home? Learn more about the process of making syrup in your backyard, and how to tap black walnut trees for syrup, and then let us know how it went!
We invite you to subscribe to the free Little House on the Prairie newsletter for the latest recipes, DIYs, and Laura Ingalls Wilder fan information.
Printable Recipe
Ingredients:
- 2 cups real maple syrup
- Heavy stainless steel pot
- Candy thermometer
- Plates, muffin liners, baking sheets, or molds in which to cool the candy
Directions:
- Pour the maple syrup into a heavy stainless steel pot and bring to a boil over medium heat. Using a candy thermometer, continue to boil the syrup until it reaches a temperature of 235 degrees F (110 degrees C), stirring occasionally. This step may take about a half hour.
- Remove the pot from the heat and let the syrup cool to 175 degrees F. Do not stir the syrup during this time. It will take about 5-10 minutes to cool.
- When the syrup reaches 175 degrees, begin to stir with a wooden spoon or whisk rapidly for about 3-5 minutes, until the mixture becomes thick and creamy and lightens in color.
- Working quickly, pour the thickened syrup into molds, muffin liners, or onto plates to cool. It can be helpful to lightly grease the molds or plates first with butter or coconut oil.
- Let the maple sugar candy cool completely. Enjoy as is, or crumble on top of yogurt, oatmeal, or your favorite sweet treat.
Teri Page grew up reading the Little House books and is now living a modern-day Little House on the Prairie life raising two kids in a 350 square foot home in NE Missouri. Like Pa and Ma, she and her husband built their off-the-grid homestead from scratch, and bathe in front of the wood stove. She is the creator of the popular homesteading blog Homestead Honey, the author of several eBooks and courses, and a life and business coach for women.

I just love this
I did this! But my syrup started to harden as I poured it into my container. Now I’m left with maple candy that looks like cookie dough!
Can you substitute sugar free maple syrup in this recipe?
No, because sugar-free maple syrup is not real maple syrup, it’s pancake syrup. Pancake syrup won’t work here.
Sure. But why. It won’t work.
I’ve watching the show I would have love living in those days thank you for the recipes do you have any easy quilts to make?
Here’s a link to one of the quilting articles: https://littlehouseontheprairie.com/tips-for-quilters-inspired-by-laura-ingalls-wilder/
looks tasty xD
I grew up in Maple Syrup country not far from the Little House In The Big Woods. My great great grandparents made Pure Maple Syrup and it has passed down for generations. Currently I have two different cousins that make Pure Maple Syrup so I get the best of the best whenever I go watch them boiling the sap to make syrup. When I was growing up I remember helping gathering the sap to make the syrup. My grandpa and then one of his sons, my uncle had 2 – 3 rigs out gathering sap every day. When I was young they were tapping about 2000 taps. Knowing most trees that were old enough or big enough in diameter to tap, typically you could only put one pail on each tree. There were several older huge trees that would have up to 6 pails hanging on each tree, but not very many trees would support that many taps. You were lucky to get 2 taps / pails per tree. The teams of gatherers would typically consist of 2 – 3 people per team, one wagon fitted with a 350 gallon tank to hold the sap while gathering, and either 2 horses pulling the wagon or sometimes a tractor or sometimes a caterpillar. Each team would gather until the tank was full and then drive the horses back to another tank outside the sugar shack. At that point we would pump out the sap into the other tank and go back to another part of the woods to start gathering more sap. Other members of the family would be boiling the sap to make Pure Maple Syrup day and night until everything was boiled down.
Today, one of my cousins still carries on the traditions of my great great grandpa. My third cousins in that family are just starting the tradition. Its a bit different today that when I helped gather. Today they use a plastic piping system running plastic tubing from tree to tree and pump the sap directly from the tree to the tank at the sugar shack. At that point they use a reverse osmosis system to take over half of the water out of the sap before they start boiling the sap which basically means they can boil the sap to make syrup in a couple of hours compared to when I was growing up would take all day for the same amount of sap to syrup. The syrup is still THE BEST Pure Maple Syrup you have ever tasted. Absolutely NOTHING tastes as good as Pure Maple Syrup.
I highly recommend you find a Maple Syrup farm and go watch the process and I am sure they will let each of you taste the hot syrup as it comes right off of the evaporator. You will make some new friends, have an awesome time and learn a lot from those that make this amazing product.
My Grandma used to make penuche fudge from brown sugar and it reminds me of this process. I’m going to try this recipe! I loved hearing about The Little House maple syrup time in the books. Thanks for sharing!
It turned out just like the picture, and it was very tasty. We love your website, thank you!
We are making the candy right now! We’ll let you know how it turns out! 🙂
Yes please! Let us know!
Just made this candy, Yummy…
Thankyou
I love your website! Thank you!!