At first the splashes of cream showed thick and smooth….After a long time, they began to look grainy. Then Ma churned more slowly, and on the dash there began to appear tiny grains of yellow butter.
— Little House in the Big Woods
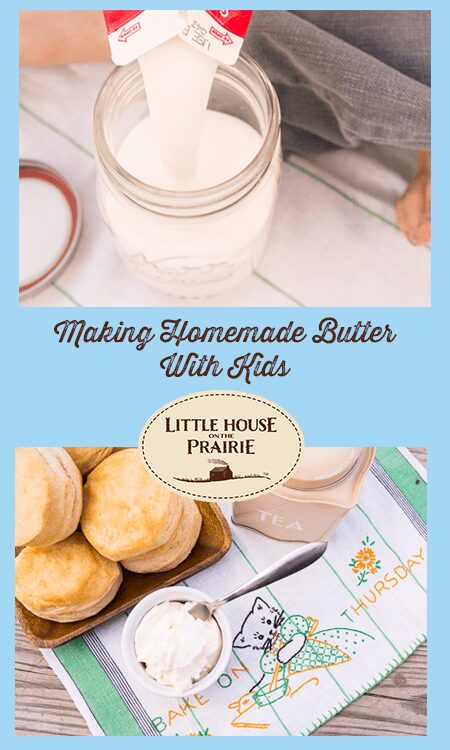
In Little House in the Big Woods, Laura recalls how she and Mary would help Ma make homemade butter. Not only would they churn it in a butter churn, but then they would color it with carrot juice, and mold it into pretty shapes for their visitors. Making the butter beautiful was a nice touch that Ma added to the butter-making process. But for all her extra touches, making simple homemade butter with kids is quite easy.
You only need a few supplies and some willing helpers with strong arms to enjoy this time-honored tradition. It’s the perfect family fun activity, so you can pass the jar around when one person’s arms get tired. It’s also an excellent complement to your reading of the Little House books.
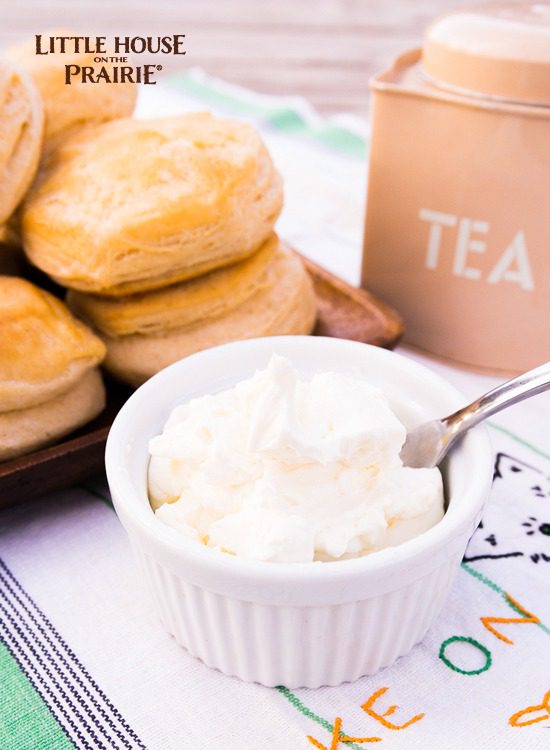
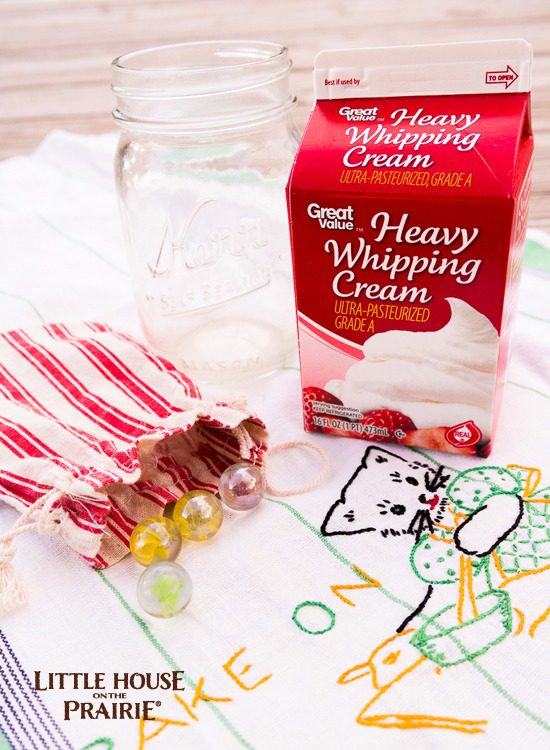
Supplies for Making Homemade Butter
Instructions for Making Butter With Kids
Step One
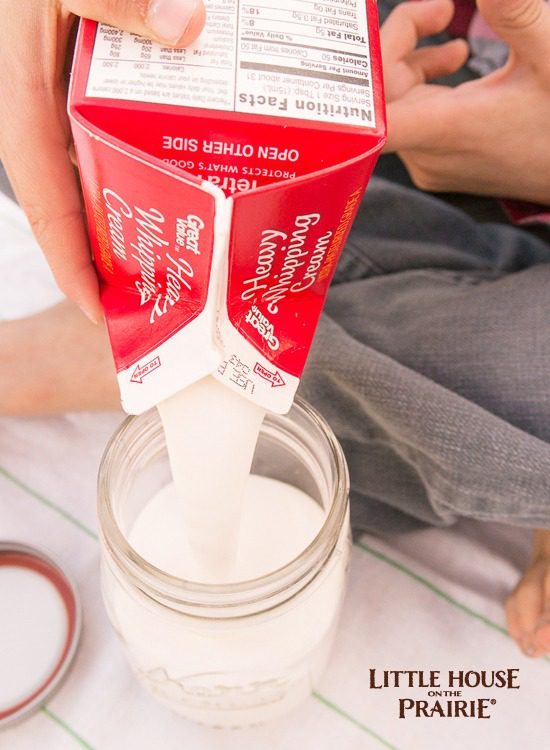
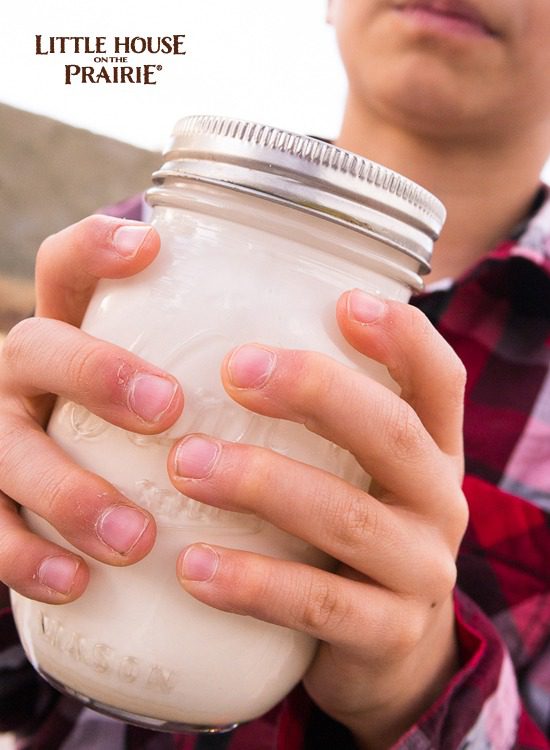
Pour cold heavy whipping cream into the mason jar. Make sure you only fill it half way so that there’s plenty of room to shake the liquid around. If you’re pressed for time, use a few clean marbles inside the jar to make the whole process move more quickly. Don’t worry if you don’t have marbles available; the butter will just take a little bit longer to form.
Step Two
Secure the lid and begin shaking. Depending on many factors (ultra-pasteurization, marbles, strength), this step may take anywhere from 8 – 15 minutes of continuous shaking. This is where it’s helpful to have multiple participants.
Step Three
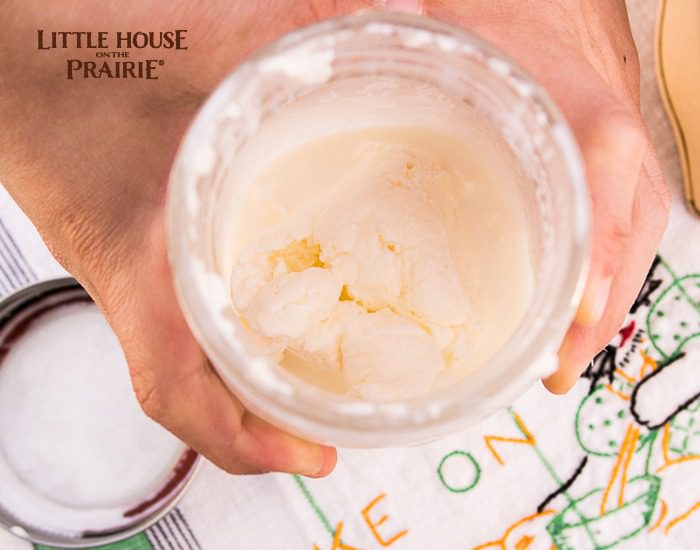
About halfway through, you’ll begin to hear a difference in the shaking sound. Go ahead and open up the container to show the kids that it’s working! You should be able to see the beginning of the butter and the buttermilk separating. Add salt, put the lid back on, and keep shaking!
Step Four
Once you feel like there’s a solid mass shaking around in the jar, the butter should be done. Use a strainer to separate the butter from the buttermilk and transfer each to their own container. Butter will last 2-3 days in the refrigerator, so it’s a good idea to make a batch of biscuits and use up that butter quickly!
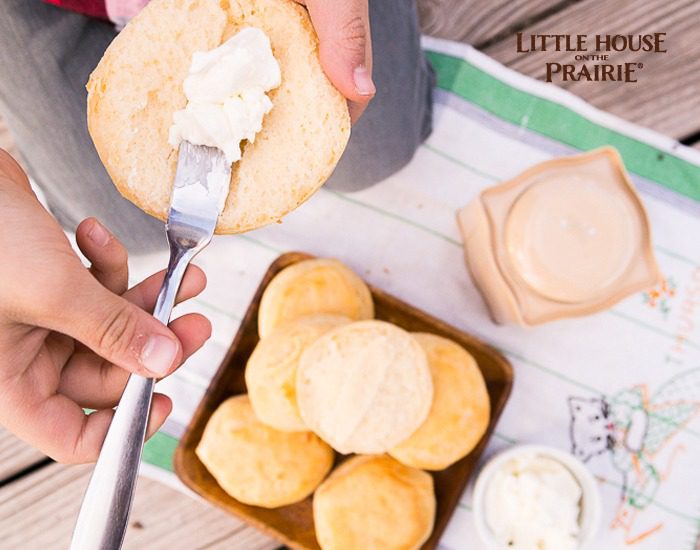
Hope you have fun making homemade butter! It’s a great way to teach children how food was made before the modern conveniences of grocery stores. If you make your butter and some fresh biscuits ahead of time, they would be a great complement to a Little House on the Prairie inspired picnic.
Be sure to subscribe to our free Newsletter for the latest family fun activities.
Printable Recipe
Supplies
Steps
- Pour cold heavy whipping cream into the mason jar. Make sure you only fill it half way so that there’s plenty of room to shake the liquid around. If you’re pressed for time, use a few clean marbles inside the jar to make the whole process move more quickly. Don’t worry if you don’t have marbles available; the butter will just take a little bit longer to form.
- Secure the lid and begin shaking. Depending on many factors (ultra-pasteurization, marbles, strength), this step may take anywhere from 8 – 15 minutes of continuous shaking. This is where it’s helpful to have multiple participants.
- About halfway through, you’ll begin to hear a difference in the shaking sound. Go ahead and open up the container to show the kids that it’s working! You should be able to see the beginning of the butter and the buttermilk separating. Add salt, put the lid back on, and keep shaking!
- Once you feel like there’s a solid mass shaking around in the jar, the butter should be done. Use a strainer to separate the butter from the buttermilk and transfer each to their own container. Butter will last 2-3 days in the refrigerator, so it’s a good idea to make a batch of biscuits and use up that butter quickly!
Vanessa Brady is the mother of two little boys and is an unabashed craft junkie. She is passionate about sewing, crafting, her children, and business. Find her original crafts at Tried and True blog.


I am a retired kindergarten teacher, and I made butter with my students almost every year. The children always got a kick out of doing something that their teacher did in kindergarten ????.
I used plastic jars most of the time, because I was fearful that someone would drop and break the glass. Each group of students had a jar, and they took turns “shaking to the music”. I played lively music as they shook, and each child got a chance to shake ( I had maybe 5 groups of children with 4-5 children in each). Sometimes they would sit on the mats and roll it between them.
We would enjoy the butter spread on saltines. Sometimes I would get some small plastic containers and send a bit of butter home for the children to share with their families.
Little House stories were always a great hit in my classroom, and enjoyed by boys and girls alike. They really enjoyed the primary version, and I would occasionally read a chapter a day from the junior chapter books.
I am so glad i found this website!
Can this be done with Sea salt?
I don’t see why not, but, only AFTER the butter has been formed.
This is really helpful.
Yo i made this
and it was a like a smoothie tecture, so I kept on shaking it
and it turned to Liquid again?
Yes. First you will get an unsweetened whipped cream, and it will be really hard to shake. But a few more minutes (and lots of shakes) after that, it will start to separate into butter and buttermilk.
Any idea how I could do this with/for my son in a non-dairy version? He has a dairy allergy.
this was very helpful.
How much salt is required ?
Could you use a hand mixer also. Looking forward to trying this either way. ☺
I say yes…although I haven’t tried. My butter churn is essentially a hand mixer (powered by hand, not electric) in a Mason jar. 10 minutes I have butter. The buttermilk is a perfect byproduct that can be used for buttermilk biscuits.
Can you make this recipe in a blender, or using a hand mixer?
Yes you can, it’s much quicker and easier. I’ve done it several times, just make sure you you put your blender on high speed. Check every 3minutes of blending to ensure all cream is blending. Be sure to rinse the with cold water and squeeze the butter a little to remove excess buttermilk.
We make butter in a ball jar using a small, washed, clean stone for resistance instead of a marble now. The marble, being made of
glass, can chip when being shaken up in the glass jar.
We found it pretty quick to make the butter with no resistance but noticed it did go even quicker with the stone.
What is a stone?
a stone is a small rock used in place of a marble. it is not needed to make this butter; it just speeds up the process
I have used this method several times around the Holidays , then put it in molds. It was lots of fun, looks nice on a family table.
Quick question…
How much butter and buttermilk is made by one recipe, please? We are trying to plan an event for a few hundred children.
Thank you!
I just made some butter today in my stand mixer-didn’t get too much because I only had a pint of cream in the fridge.Usually I buy at least 2 quarts of cream if I’m going to make it.I’m also making some homemade bread to have it with.
I overmixed whipping cream a time or 2 and turned out fine. was a little on the sweet side- no sugar added. I will try salt next time